Skip to content

What This Guide Covers
There is a quiet moment that happens before any laser starts moving. A drawing opens on my screen. The lines look clean. The notes look short. Everything feels simple. And that is exactly the moment when problems usually hide.
Laser cutting acrylic often looks easy from the outside. A smooth edge. A bright logo. A perfect rectangle dropping out of a sheet. But between that drawing and that finished part, there are many small decisions that decide whether the job feels controlled or painful.
This guide is my way of slowing that moment down.
I want to walk through laser cutting and engraving acrylic from the view of someone who has to make it work every day. Not only once. Not only for a sample. But batch after batch, with real deadlines and real customers waiting.
Here, I will cover:
- What laser cutting and engraving acrylic actually mean in practice
- How different acrylic materials react under the laser
- Why some settings look fine on paper but fail on the machine
- Where problems usually start, even when nobody expects them
- How I judge if a laser-cut acrylic design is safe for long-term production
The check I always make, before saying yes to a project, is very basic: does this design respect how acrylic behaves under heat, or does it assume the laser will magically fix everything?
Who This Guide Is For (Designers, Manufacturers, Engineers)
When I write about laser cutting acrylic, I think about people like Jacky in Canada. He sits between a marketing team that wants a “premium look” and factories in China that must actually cut, engrave, pack, and ship the parts.
So this guide is for:
- Product designers who care about final feel and brand image
- Mold designers who want to combine acrylic parts with other materials
- Purchasing managers who must compare quotes and understand real limits
- Engineers and makers who need clean, repeatable results, not just one good prototype
To make this more concrete, here is how I see these roles and their typical questions:
| Role | Main Concern | Typical Question |
|---|---|---|
| Product designer | Look and user experience | “Will the edge look glass-like or rough?” |
| Mold designer | Fit and tolerance | “Can we hold ±0.2 mm in this cut?” |
| Purchasing manager | Cost, lead time, and risk | “Why is laser more expensive than simple sawing here?” |
| Engineer | Function and reliability | “Will the engraved scale stay readable after cleaning?” |
From my side in the factory, the most important reader is the one who signs off the drawing but still wants direct, honest feedback from the workshop, not only from a nice brochure.
Quick Overview of Laser Cutting & Engraving Acrylic
At Feilong Acrylic, we use CO₂ laser machines almost every day. The basic idea sounds simple: a focused beam of light melts and vaporizes a narrow line in acrylic. But the details – power, speed, focus, material type – decide if the part looks “luxury” or “cheap”.
When we cut, we are going all the way through the sheet to create shapes, slots, and profiles.
When we engrave, we only remove part of the surface to create logos, scales, text, and patterns. The light plays with the surface roughness and gives contrast, especially with cast acrylic.
For quick reference:
| Operation | Depth | Main Use Cases |
|---|---|---|
| Cutting | Through thickness | Shapes, panels, letters, structural parts |
| Engraving | Surface only | Logos, scales, patterns, decoration |
What usually matters most to me, before any impressive spec sheet, is simple: will this part still look clean after the third or fourth batch, when the machine, the operator, and the material quality are not “perfect” anymore?
A lot of people hear “laser cutting acrylic” and think about perfect edges right away. To see what really creates those edges, we first need to be clear about what laser cutting and engraving actually mean in this material.
What is Laser Cutting & Engraving Acrylic?
Definition of Laser Cutting Acrylic
When I talk about laser cutting acrylic with clients, I describe it like this:
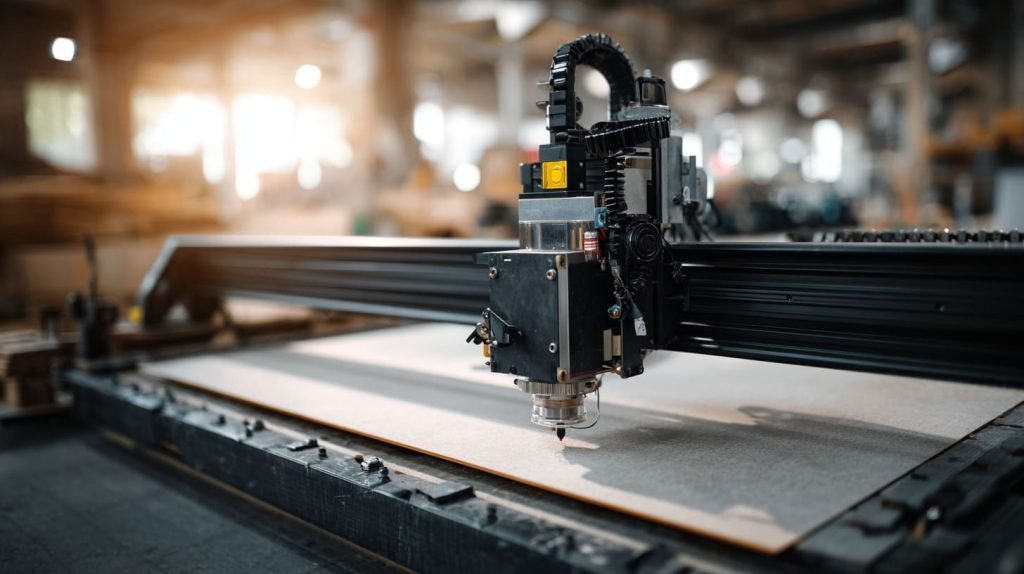
Laser cutting acrylic means using a focused CO₂ laser beam to melt and vaporize a narrow path through an acrylic sheet, so we get precise shapes with smooth edges and minimal mechanical force.
There is no saw blade. There is no router bit. The “tool” is light and heat.
Because there is no physical contact, we can cut:
- Very small inside corners
- Fine letters and logos
- Complex nested shapes for high material usage
But the material is still a plastic with limits. Too much heat and the edge burns, bubbles, or turns cloudy. Too little heat and the cut does not pass through, or the parts fuse back together.
The line I always keep in my head is simple: if the drawing asks for sharp corners, tiny bridges, and glossy edges all at once, I know I am negotiating with physics, not just pressing “Start” on the laser.
Difference Between Cutting and Engraving
The confusion between cutting and engraving shows up in many drawings I receive. A designer writes “engrave logo 1 mm deep”, but what they really want is a filled color or a very strong visual contrast.
To make the difference more clear:
| Feature | Cutting | Engraving |
|---|---|---|
| Depth | Through the entire thickness | Shallow, partial depth |
| Edge result | Full edge, visible on side | Surface texture or frosted look |
| Main purpose | Shape, separation, structure | Visual communication and branding |
| Tolerance | More critical for fit | More critical for readability |
Some typical examples from my work:
- Cutting: display stands, slots, hooks, shelves, covers
- Engraving: brand logos, scale lines, product codes, small icons
The real turning point in my decision is simple: if the feature must carry mechanical load or fit into another part, I treat it as cutting; if it only carries information or decoration, I treat it as engraving.
How Laser Technology Works (CO₂ vs. Diode Lasers)
Most acrylic work in factories like mine is done with CO₂ lasers. They use infrared light that acrylic absorbs very well. This gives:
- Clean, glossy edges on cast acrylic
- Stable performance across common thicknesses (2–20 mm)
- Reasonable cutting speeds for production
Diode lasers are smaller, cheaper, and often used in hobby or low-power setups. They can mark some plastics and cut very thin acrylic, but they are slower and less consistent for thick sheets.
A simple comparison:
| Type | Typical Power | Acrylic Performance | Common Use |
|---|---|---|---|
| CO₂ laser | 40–300 W | Strong, clean cuts up to ~20 mm | Factory production, pro workshops |
| Diode laser | 5–20 W | Light cutting, marking, thin sheets | Hobby, prototypes, small jobs |
When a buyer asks, “Can a small desktop laser handle this job?”, my first thought is not about the brand of the machine; I imagine the production line and ask if they want a nice sample or a reliable, repeatable process for the next three years.
Once we are clear on what the laser does, the next big question is what kind of acrylic we are putting under that beam, because that choice quietly controls half of the final result.
Types of Acrylic Materials for Laser Cutting & Engraving
Cast Acrylic
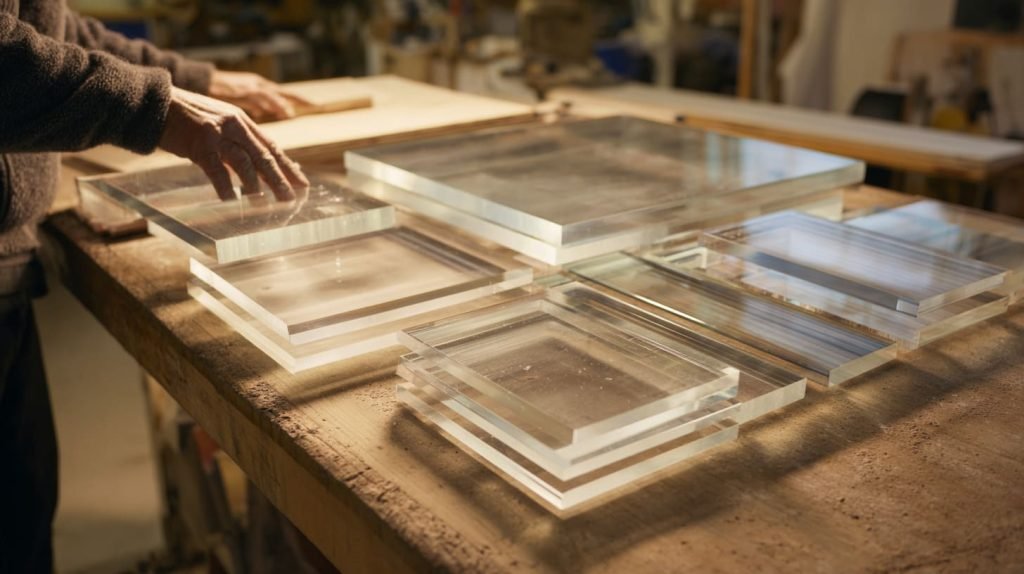
Cast acrylic is like the “classic” choice in many laser projects. It gives beautiful, frosted engraving and a clear edge that often looks close to glass.
Why Cast Acrylic is Preferred
Here is why I often suggest cast acrylic when the budget allows it:
- It engraves with strong contrast; logos and text look crisp
- The edge after cutting can look very clear and glossy
- It is more stable in thickness within reasonable tolerance for many display projects
- It behaves more predictably with laser heat
Simple comparison from my daily experience:
| Property | Cast Acrylic | Result in Laser Work |
|---|---|---|
| Engraving look | Frosted, bright | Clear logos and text |
| Edge clarity | Very good | “Glass-like” impression |
| Internal stress | Lower | Less risk of cracking after cutting |
| Price | Higher | Used when appearance really matters |
I tend to lean toward cast acrylic when a client says, “This is a premium display for a cosmetic brand; the logo must look perfect”, because I know the engraving will support that promise.
Typical Applications with Cast Acrylic
I often use cast acrylic in:
- Retail displays with brand logos
- Award plaques and trophies
- Light-up signage with engraved text
- High-end cosmetic organizers and stands
A rough mapping of use case and thickness:
| Use Case | Typical Thickness |
|---|---|
| Small logo plates | 2–4 mm |
| Display shelves | 4–8 mm |
| Free-standing plaques | 8–15 mm |
| Deep edge-lit pieces | 10–20 mm |
The choice I make here is simple: when the buyer cares more about how the piece feels in the customer’s hand than about small cost savings, I push gently toward cast acrylic.
Extruded Acrylic
Extruded acrylic is more budget-friendly. It is made by pushing melted material through a die, so it often has more internal stress and behaves differently under heat.
Strengths & Limitations
Some good points:
- Usually cheaper than cast acrylic
- Often has very consistent thickness over large sheets
- Can cut well for many non-decorative parts
But there are limits:
- Engraving is often less frosted and has lower contrast
- It can show more stress marks or fine cracks after heavy laser cutting
- It may warp slightly with large, heavy cuts
Quick table:
| Aspect | Extruded Acrylic Benefit | Hidden Risk |
|---|---|---|
| Cost | Lower material cost | Can invite over-aggressive designs |
| Thickness | Very consistent | May give false confidence on stress |
| Engraving | Less contrast | Logos can look “flat” or weak |
When to Use Extruded Acrylic
I still use extruded acrylic in many projects where:
- The parts are functional and mostly hidden
- Logo or engraving is not the focus
- Cost pressure is high
- Orders are large and stable over time
Some examples:
- Internal holders and dividers inside cabinets
- Protective covers and guards
- Low-cost display components where labels are printed separately
What usually makes me accept extruded acrylic is not the brochure. It is the moment when I ask myself, “If this part gets small surface marks or slightly weaker engraving, will anyone actually complain in real life?”
Reverse Laserable Acrylic Sheets
Reverse laserable sheets are a smart mix of acrylic and special coatings. We engrave from the back side, remove the coating, and then view the result from the front through clear acrylic.
Clear Reverse Laserable
For clear reverse laserable acrylic:
- The front stays smooth and easy to clean
- The engraving is protected behind the sheet
- Lighting can be added from the edges for strong effect
This is very useful for:
- Nameplates
- Control panels with back-engraved text
- Signs that must survive frequent cleaning
Black Reverse Laserable
Black or colored reverse laserable sheets give:
- Strong contrast between the coating color and the clear engraved areas
- A “professional” look that hides scratches better on the front side
Common uses:
- Industrial labels and plates
- Long-term signage in shops and offices
- Control front panels with icons and text
Best Use Cases
A quick overview:
| Sheet Type | Viewing Direction | Main Environment |
|---|---|---|
| Clear reverse laserable | From smooth front | Shops, showrooms, offices |
| Black reverse laserable | From smooth front | Industrial, panels, labels |
When I see a drawing for a panel that will be wiped every day with cleaning chemicals, I immediately think of reverse engraving, because I know that putting the engraved area on the back buys us many years of extra life.
Once the material choice is clear, the next logical question from most buyers is simple: what real advantages does laser cutting give us over other cutting methods?
Advantages of Laser Cutting Acrylic
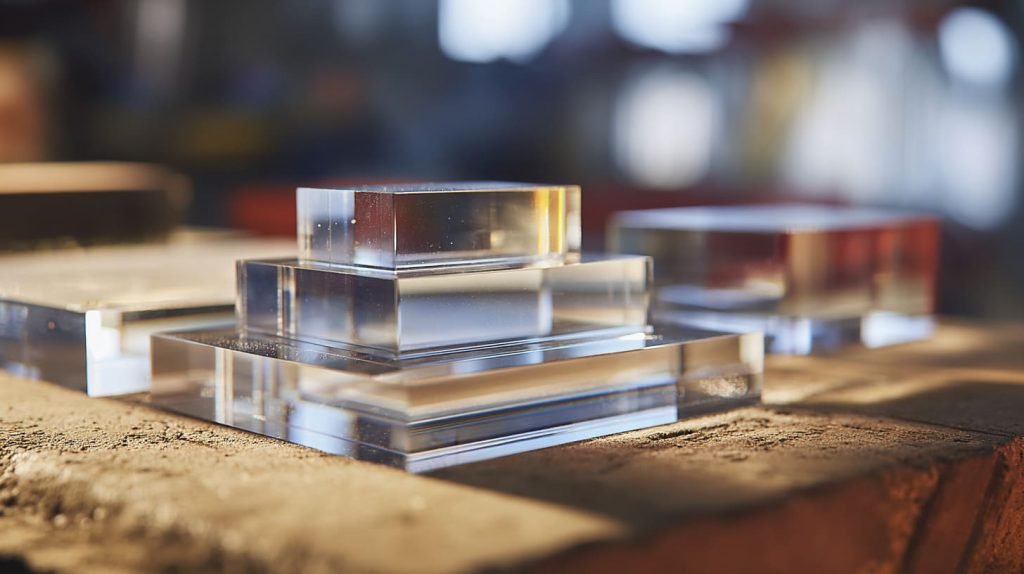
Precision and Detail
Laser cutting lets us hit details that are hard or impossible with traditional tools. I cut:
- 3 mm wide slots
- Tiny inside corners
- Very small text or icons
- Complex shapes that nest tightly to save material
Because the beam is narrow, the kerf (width of the cut) is small and repeatable. This helps when parts must interlock or when small tabs hold pieces together.
Clean & Polished Edges
One of the main visual benefits is the edge quality. On cast acrylic with good settings, the edge can look almost like polished glass.
Key points:
- Minimal post-processing in many cases
- Edges catch light nicely, which helps in displays
- Less risk of chipping compared to sawing
Simple comparison:
| Method | Edge Look | Extra Polishing Needed |
|---|---|---|
| Saw cutting | Rough, striated | Often yes |
| CNC routing | Smooth but matte | Sometimes light polish |
| Laser cutting | Clear, glossy | Often no |
Fast Turnaround for Production
Once the design is right and the settings are tuned, laser cutting is very friendly for repeat orders:
- We can reuse digital files with minimal change
- Switching between jobs is quick
- Nesting software helps use the sheet efficiently
For buyers like Jacky, this means:
- Easier reorders
- More stable quality across batches
- Less back-and-forth when small changes are needed
Versatile Applications (Signage, Fixtures, Display, Parts)
In my factory, laser-cut acrylic flows into many product categories:
- Signage: illuminated signs, letters, logos
- Retail fixtures: shelves, product risers, hooks, dividers
- Household items: organizers, boxes, picture frames
- Functional parts: covers, guards, simple mechanical parts
A quick mapping of function and typical laser operations:
| Application | Main Operation | Extra Steps |
|---|---|---|
| Signage | Cutting + engraving | Painting, lighting |
| Retail display | Cutting | Bonding, polishing |
| Organizers | Cutting | Bending, assembly |
| Panels / guards | Cutting | Drilling, mounting |
When I decide whether the laser is really the right tool, I think about the full life of the part: if the buyer needs both flexibility in design and consistent visual quality over many batches, laser cutting almost always wins over other methods.
After buyers understand the benefits, they often ask a more technical question: “What kind of machine do I actually need to support these ideas?”
Choosing the Right Laser Machine
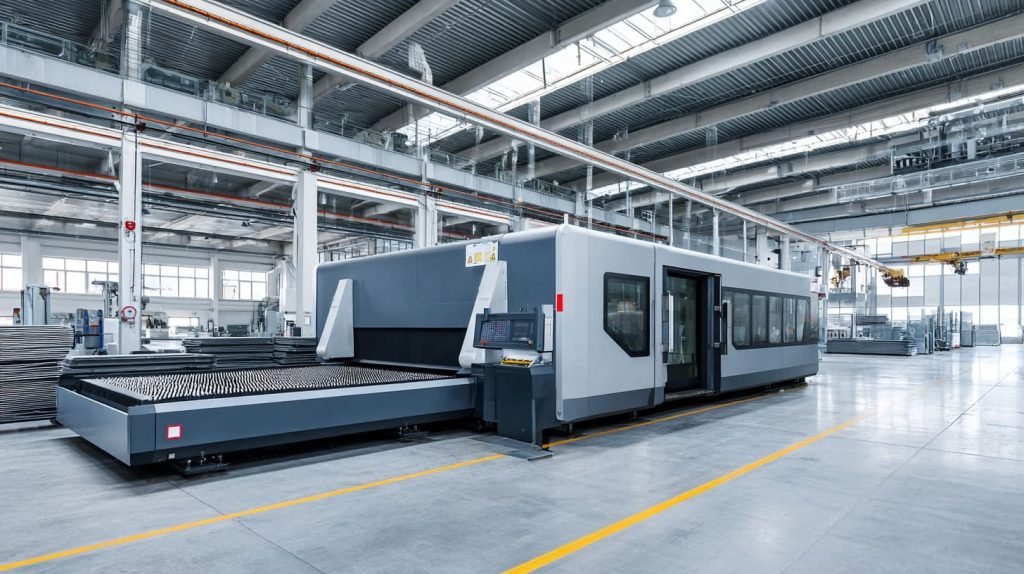
CO₂ Lasers (Most Common Choice)
For acrylic, CO₂ lasers are my main recommendation. They give:
- Strong interaction with acrylic
- Clean cuts and good speed
- A good balance between cost and performance for factories
Key factors I look at:
- Power rating (40 W to 300 W for typical acrylic work)
- Bed size (to match common sheet sizes like 1220×2440 mm)
- Cooling and exhaust system quality
Diode Lasers for Acrylic
I do see diode lasers in small workshops and makerspaces. They:
- Are usually lower power
- Work for very thin acrylic and simple jobs
- Move slower when cutting thicker materials
For a serious B2B setup, I see diode lasers more as complementary tools than main production machines.
Power Considerations (Watts per Material Thickness)
There is no single “magic table” that fits all brands, but I use rough rules in my head when talking to clients:
| Acrylic Thickness | Typical CO₂ Power for Practical Cutting |
|---|---|
| 2–3 mm | 40–60 W |
| 4–6 mm | 60–100 W |
| 8–10 mm | 100–150 W |
| 12–20 mm | 150–300 W |
I also think about duty cycle. A 60 W machine can cut 10 mm acrylic, but if it runs near maximum power all day, it will suffer faster.
The question I silently ask myself when a client shows me a possible machine is, “Is this laser only strong enough to make a nice sample, or is it strong enough to make a thousand pieces without turning every shift into a fight?”
Once the machine is chosen, the real art begins in the settings, because even the best laser will behave badly if power, speed, and focus do not work together.
How to Configure Your Laser Settings
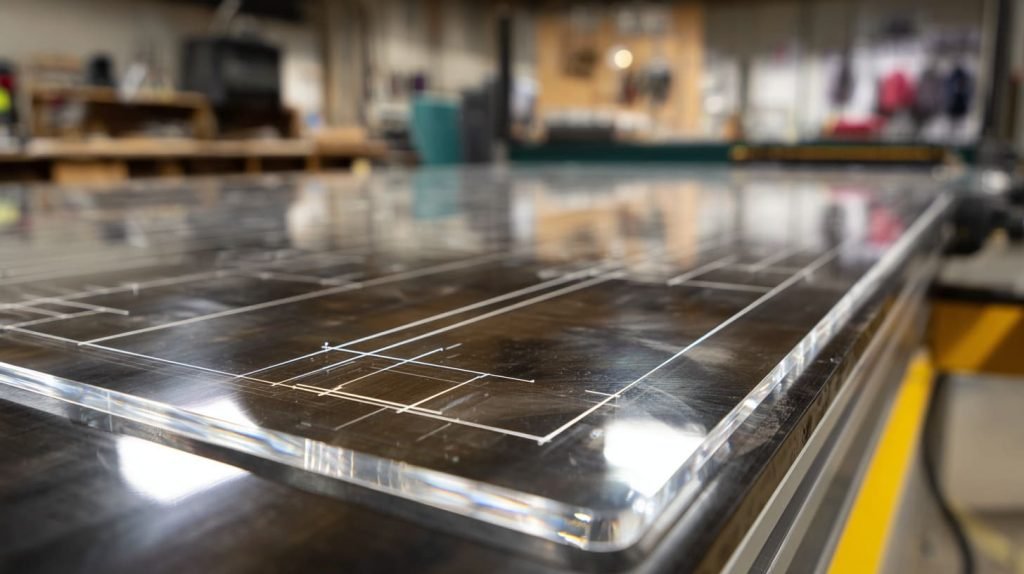
Laser Power Settings
Power controls how much energy reaches the acrylic. Too high and the edge burns. Too low and the cut does not go through.
Things I adjust:
- Percentage of power relative to machine maximum
- Single pass vs. multiple passes on thicker sheets
- Different power for cutting and engraving
For example:
| Thickness | Typical Power (CO₂) | Notes |
|---|---|---|
| 3 mm | 30–50% | Single pass usually fine |
| 6 mm | 60–80% | Single or two passes |
| 10 mm | 80–100% | Slower feed, air assist |
Cutting Speed and Feed Settings
Speed decides how long the beam stays on one area:
- Faster speed = less heat per point
- Slower speed = deeper cut but more risk of burning
I usually fine-tune speed in small test strips:
- Short 50–100 mm cuts
- Same power, different speeds
- Check back, edge, and top surface every time
Focus & Frequency Adjustments
The focus position is critical. If the focal point is too high or too low:
- The kerf widens
- The edge looks less clear
- The cut can taper or not go through
Frequency (pulse rate) also affects edge quality:
- Higher frequency = smoother edge, more heat
- Lower frequency = more “dotted” feel, sometimes less melting
Air Assist & Other Machine Controls
Air assist blows gas through the kerf. It:
- Helps remove vapor and debris
- Cools the edge slightly
- Can reduce flare and small flames
Other controls:
- Pierce delay for thick sections
- Overscan for engraving edges
- Acceleration limits for small details
Tips on Calibration & Test Cuts
Before any new project, I treat test cuts as cheap insurance:
- Cut small squares and circles with different settings
- Label each test piece clearly
- Check edge quality, back burning, and dimensional accuracy
A simple test grid idea:
| Sample No. | Power % | Speed (mm/s) | Notes After Check |
|---|---|---|---|
| 1 | 50 | 25 | Slight undercut, clean |
| 2 | 60 | 20 | Fully through, edge glossy |
| 3 | 70 | 15 | Slight browning on edge |
When I stand next to a laser with a new material, the one thought I push into my team is, “Do not trust the last job’s settings just because the material looks similar; always buy one cheap test sheet and let the material tell us the truth.”
Once the settings behave nicely in tests, we can start thinking in full workflows, from CAD file to finished acrylic part.
Step-by-Step Laser Cutting Workflow

Design Preparation & Software (CAD/LightBurn)
Everything starts with clean drawings. I often receive:
- DXF or DWG files from CAD
- AI or SVG files from designers
- Sometimes even hand sketches we help convert
Key design checks:
- Line colors and layers for cutting vs. engraving
- Minimum hole sizes and bridge widths
- Kerf compensation if necessary for press-fit parts
Material Setup & Fixturing
On the machine:
- We remove the protective film only where needed
- We place the sheet on a honeycomb or knife table
- We check flatness; warped sheets cause focus issues
- We secure edges if large parts may move after cutting
Running Test Cuts
Before full production:
- We run small shapes at the corner of the sheet
- We adjust power and speed if needed
- We confirm dimensions with calipers
Full Cut & Engrave Workflow
A typical run looks like this:
- Load file and choose correct layer settings
- Engrave first (so cut pieces do not shift)
- Cut inner holes and slots
- Cut outer profiles last
- Inspect pieces before removing the sheet
Post-Cut Handling & Edge Finishing
For many parts, the edge is already good enough. When we need more:
- We can flame-polish some edges (with care)
- We can lightly sand rough areas if necessary
- We clean surfaces to remove any smoke marks
In production, I always remind myself, if we need a long, complex finishing process after every batch, something is wrong earlier in the workflow and we are forcing a bad habit to look normal.
Once the process becomes smooth, the problems we still see tend to repeat themselves. That is where a simple troubleshooting mindset saves a lot of time and stress.
Common Issues & How to Fix Them

Rough or Cloudy Edges
Causes & Solutions
Cloudy or rough edges usually come from:
- Wrong speed or power balance
- Dirty or old optics
- Poor focus position
- Material type issues (especially extruded acrylic)
Possible fixes:
- Reduce speed slightly and lower power a bit
- Clean mirrors and lenses
- Re-check focus height with a gauge
- Try cast acrylic if only extruded has been used
A quick view:
| Symptom | Likely Cause | First Fix to Try |
|---|---|---|
| Matte, cloudy edge | Too little heat | Slightly lower speed |
| Yellow/brown edge | Too much heat | Lower power, add air assist |
| Ripples on edge | Vibration or optics | Check belts, clean lenses |
Melted or Burned Edges
Settings to Adjust
When edges burn, bubble, or show strong discoloration:
- Power is often too high for the speed
- Air assist may be too weak
- The cut path may stay too long in tight corners
Adjustments:
- Lower power by 5–10% and test again
- Increase air assist flow
- Add small corner “loops” or reduce acceleration in software
Warping or Distortion
Material & Machine Tips
Warping can appear:
- During cutting, if the sheet heats unevenly
- After cutting, if internal stresses release
To reduce this:
- Use more supports under large sheets
- Avoid long, continuous cuts in one area; break them into sections
- Use cast acrylic when stable flatness is critical
From experience, I pay close attention to large, thin panels with many cutouts, because these jobs love to pretend they look fine at the start and then quietly warp on the table when nobody is watching.
Solving problems is important, but I also spend time avoiding new problems by taking safety and good habits seriously around the laser area.
Safety & Best Practices
Ventilation & Fume Extraction
Laser cutting acrylic produces fumes:
- They smell sharp and can irritate eyes and throat
- They can build up inside the machine if extraction is poor
So we:
- Use proper exhaust fans and ducting
- Check filters and ducts regularly
- Position outlets where fumes will not return to the workspace
Protective Gear (Goggles, Gloves)
For operators:
- Safety glasses that match the laser type
- Gloves when handling hot or freshly cut parts
- Simple hearing protection if the workshop is noisy
Machine Maintenance
Good maintenance is quiet, but powerful:
- Clean lenses and mirrors on a set schedule
- Check belt tension and guide rails
- Verify cooling water temperature for CO₂ tubes
A small maintenance table helps:
| Task | Frequency |
|---|---|
| Clean lenses | Daily / weekly |
| Check belts | Weekly |
| Inspect exhaust | Monthly |
| Service cooling | Monthly / as needed |
Material Handling Safety
We also respect the acrylic itself:
- Keep sheets stored flat or properly supported
- Watch for cracks, chips, or deep scratches before cutting
- Keep different plastic types clearly labeled to avoid mixing
Avoiding Hazardous Gases & Harmful Materials
Not every plastic is safe to laser cut. For example, PVC releases dangerous gases and can damage the machine.
So we:
- Confirm material type before cutting
- Reject unknown sheets or test with suppliers first
- Train staff to say “no” when something looks suspicious
In real work, I do not think of safety as a nice extra; I see it as the quiet system that protects the one thing I cannot replace: the people who are skilled enough to make all these projects possible.
Once safety and process are under control, we can enjoy the creative side of laser-cut acrylic and see where it adds real value, not just “decoration”.
Creative Applications of Laser Cut Acrylic
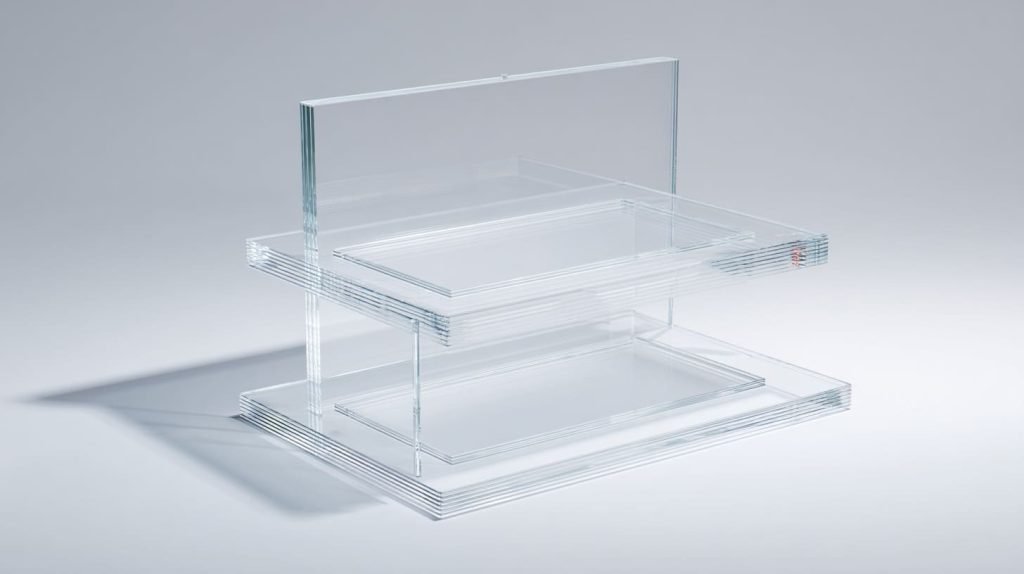
Custom Signage & Branding Pieces
Laser cut acrylic gives brands a very clean, modern language:
- Floating letters on walls
- Edge-lit signs with engraved logos
- Layered designs mixing colors and finishes
We can combine:
- Clear and frosted pieces
- Opaque colored sheets
- Engraved details and printed graphics
Retail Displays & Fixtures
In retail, acrylic is everywhere around me:
- Product risers and display steps
- Shelves, hooks, and organizers
- Divider panels and brand blocks
A simple table of display ideas:
| Display Element | Laser Role | Extra Process |
|---|---|---|
| Logo blocks | Cutting + engraving | Painting/printing |
| Cosmetic stands | Cutting | Bending, bonding |
| Price tag holders | Cutting | Slot machining |
| Light boxes | Cutting + engraving | LED assembly |
Awards, Plaques & Decorative Items
Laser-cut cast acrylic works nicely in:
- Trophies and awards
- Commemorative plaques
- Decorative panels and wall art
We can:
- Engrave names and dates
- Add 3D layers with different thicknesses
- Combine light and shadow with stands and bases
Functional Components & Product Parts
Not everything needs to look fancy. Acrylic parts also work in:
- Machine guards and covers
- Control panel windows
- Simple mechanical parts with light loads
In these projects, the value comes from clarity plus protection: we let people see the inside while keeping hands and dust out.
When I look at a new product idea, the thought I keep returning to is, “Does acrylic here only look nice, or does it also remove a pain for the user, like cleaning, visibility, or weight?” If it solves a real problem, the creative use is more than just decoration.
Of course, all these creative options still depend on one thing buyers sometimes underestimate: where the acrylic comes from and how consistent the material quality will be over time.
Sourcing Acrylic for Laser Projects
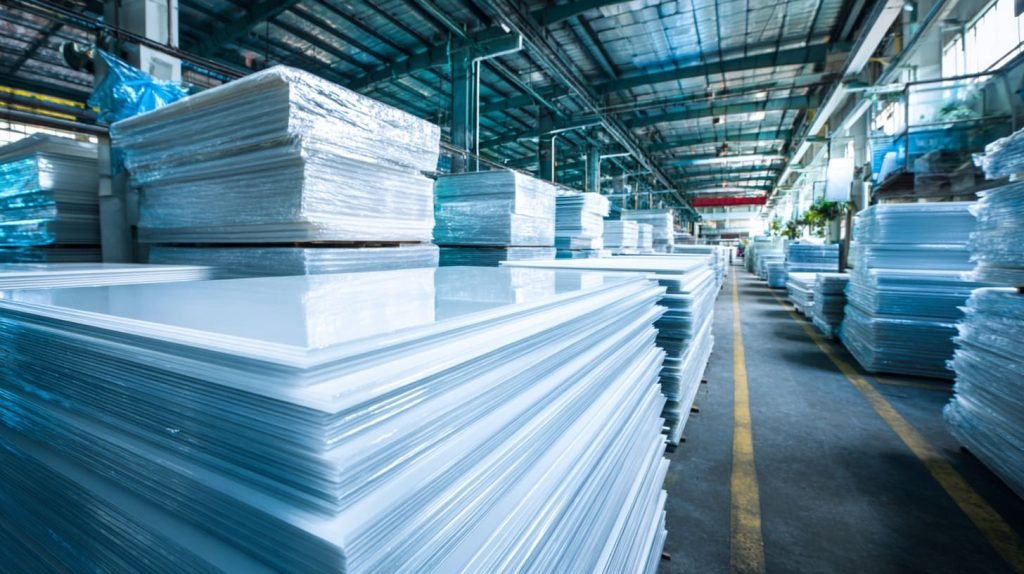
Tips for Buying Quality Acrylic
From my side in China, I see big differences between acrylic suppliers. For laser work, I look at:
- Clarity and color consistency between batches
- Protective film quality and adhesion
- Flatness and sheet tolerance
I always suggest buyers ask for:
- Samples from real production, not only showroom pieces
- Basic data on material type (cast or extruded)
- Information about any special coatings or additives
Choosing the Right Thickness & Finish
Thickness and finish change both look and cost:
- Thicker sheets feel more “solid” but cost more and cut slower
- Glossy surfaces show fingerprints more than matte ones
- Frosted finishes can hide small scratches and diffuse light
A simple guide:
| Application | Typical Thickness | Suggested Finish |
|---|---|---|
| Small labels | 2–3 mm | Glossy or matte |
| Display shelves | 4–8 mm | Glossy or frosted top |
| Freestanding signs | 8–15 mm | Glossy edges, clear |
| Machine windows | 4–10 mm | Clear, low distortion |
How to Evaluate Suppliers
When you cannot visit every factory, you can still evaluate suppliers through:
- Quality of communication and technical answers
- Sample consistency between first and second shipment
- Openness about production process and material sources
When I buy material for my own factory, I do not only look at price per kilo. I ask myself, “If a client repeats this order ten times, will this supplier quietly hold the same standard, or will they start to mix materials as soon as nobody checks?”
Good material and good process give better results, but I know buyers still carry many small questions in their mind about what is possible and what is realistic with laser cutting acrylic.
FAQs
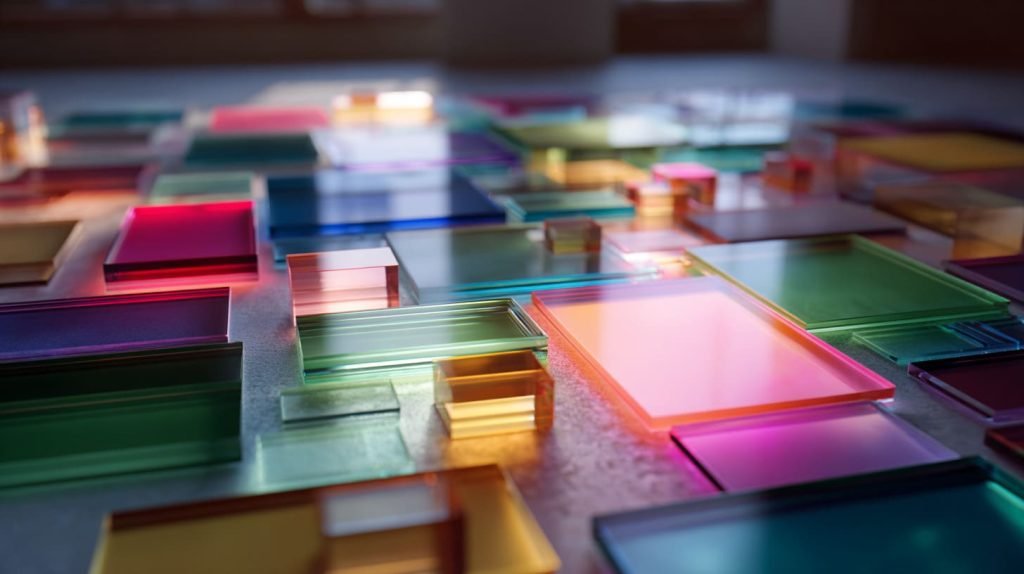
Can You Laser Cut Colored Acrylic?
Yes, colored acrylic can be laser cut. The key points:
- Opaque colors cut well with CO₂ lasers
- Edge color may look stronger than the surface
- Engraving on dark colors sometimes needs paint fill for contrast
I often test one small piece first, because different pigments can change how the edge looks and how much heat the sheet can handle before discoloration.
What Thickness Can Typical Laser Machines Handle?
For most production-type CO₂ lasers:
- 2–10 mm acrylic is very comfortable
- 12–20 mm is possible with enough power and slower speed
Beyond that, cuts become:
- Slower
- Harder to keep perfectly clear
- More sensitive to setup and cooling
I usually tell clients that if they want more than 20 mm thickness, we should talk carefully about weight, stability, and whether a different material might be smarter.
Is Masking Tape Necessary?
Masking (or protective film) helps:
- Reduce smoke marks on the surface
- Protect glossy faces during handling
- Keep engraved areas cleaner
We use:
- Factory protective film where possible
- Additional masking tape for very sensitive surfaces
Sometimes I skip extra masking on fast, low-risk jobs, but only when I am sure the client accepts small marks as normal.
Why Don’t All Laser Machines Cut Acrylic the Same?
Even when two lasers have the same “power” on paper, they can cut very differently:
- Optics quality and alignment
- Motion system stiffness
- Cooling and exhaust systems
- Control software and setting options
This is why I never copy someone else’s “perfect settings” blindly. I always let each machine and each sheet of acrylic show me what they like, one test cut at a time.
All these questions lead back to one bigger topic: how we, as factory people and buyers, make decisions in real projects and why laser cutting acrylic deserves both respect and healthy skepticism.
Conclusion
Key Takeaways from This Guide
When I think about laser cutting acrylic, I do not see only beams, machines, and sheets. I see small decisions that stack on top of each other:
- Cast or extruded
- CO₂ or lower-power desktop
- Fast, aggressive settings or slower, safer ones
- “Looks good on sample” versus “stays stable for years”
Every choice changes how the part feels in a customer’s hand and how calm or stressed the factory team feels on a busy day.
What matters most to me is this: laser cutting is not magic, it is a tool that rewards clear drawings, honest communication, and respect for material limits.
How to Improve Your Laser Cutting Results
When I support buyers like Jacky, I focus on a few simple habits:
- We talk openly about where the acrylic will live: shop, home, factory, outdoor area
- We match material type and thickness to real risk, not only to cost
- We invest time in test cuts instead of skipping straight to full production
- We treat problems (cloudy edges, warping, weak engraving) as feedback, not as “bad luck”
If you keep asking small, specific questions like:
- “Who will clean this part?”
- “How will people touch it every day?”
- “What happens if this edge turns slightly yellow after a year?”
then your decisions around laser cutting and engraving will feel more solid and less like gambling.
Next Steps for Advanced Projects
In my own work at Feilong Acrylic, I use laser cutting as part of a larger toolbox that includes CNC machining, bending, bonding, and printing. For many custom displays, organizers, and fixtures, laser is the sharp, precise “pen” that draws the shape before everything else comes together.
If you are planning a new acrylic project and you want to:
- Choose the right acrylic type for laser work
- Balance appearance, cost, and risk in a global supply chain
- Turn a sketch or CAD file into repeatable, export-ready products
you are welcome to reach out to me and my team at flacrylic.com. We spend our days translating drawings into real parts, and we are always happy to share what we learn from the laser bed, not only from the textbook.
At the end of the day, I do this work in the way I described because I have seen what happens when people ignore small details: edges burn, panels crack, brands suffer, and trust is lost. I prefer the slower, more honest path where each cut is not only clean on the acrylic sheet, but also clean in the relationship between buyer and factory.