 Skip to content
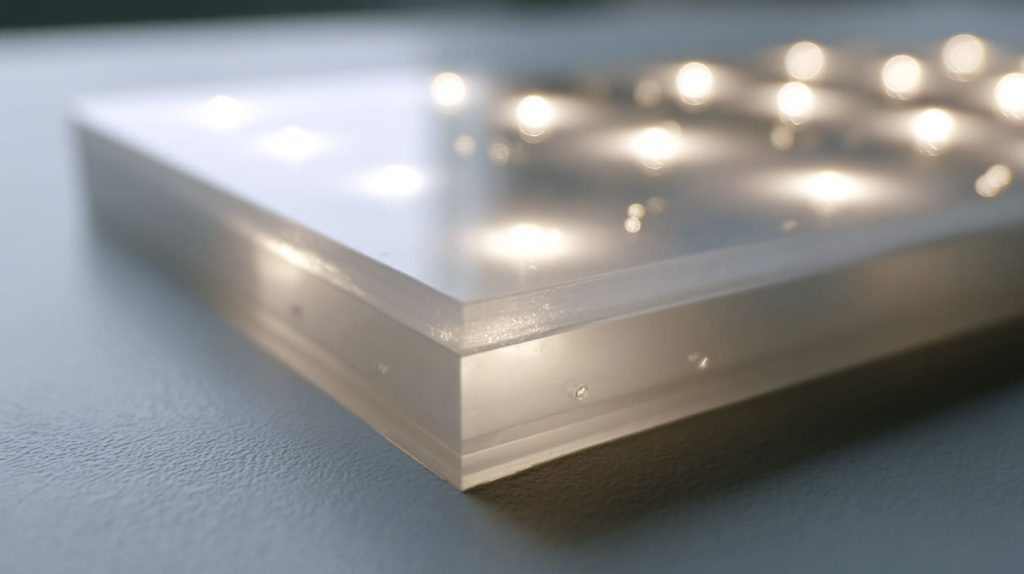
P95 acrylic looks like an easy answer when the first LED sample looks too sharp.
A buyer may send me a photo from his workshop. The light box is already assembled. The LED strip is working. The white acrylic panel is installed. But the front face still shows small bright dots, like a row of tiny moons hiding behind a cloudy window.
Then comes the question I know very well:
“Can we use P95 acrylic to hide these LED hotspots?”
I understand why people ask this.
P95 acrylic has a soft matte surface. It reduces glare. It looks cleaner than clear acrylic under strong room light. When someone touches it, it feels like a more “technical” material. So it is easy to believe that this frosted look can also make LED light smoother.
But this is where many projects take the wrong turn.
P95 acrylic can reduce surface glare, but it is not automatically a strong LED diffuser. It may soften the look a little, but it may still fail to hide LED hotspots if the LED layout, panel distance, acrylic thickness, and light box design are not right.
I have seen this problem in signage, backlit logos, display boxes, retail fixtures, and small custom acrylic light panels. The drawing looks simple. The material name looks simple. The quote looks simple.
Then the sample arrives.
The front surface shows uneven light.
Nobody is happy.
For a B2B buyer like Jacky, this is not only a visual issue. It can delay approval. It can create extra sample rounds. It can push the purchasing team into a painful place where the customer says, “Why did the factory not tell us earlier?”
That is why I never treat P95 as a magic sheet.
I treat it as one tool.
And like every tool, it works well only when the job is right for it.
When I review a backlit acrylic project, I do not ask first, “Which frosted sheet do you want?” I ask, “Where is the light source, how close is it to the front panel, and what result does the customer expect to see?”
That small change in thinking can save a project.
Now let’s look at why P95 acrylic still fails to hide LED hotspots, even when it looks like the right material at first.
Acrylic can be beautiful. But light is honest. It shows every weak point we try to ignore.
What Is P95 Acrylic and What Does It Actually Do?
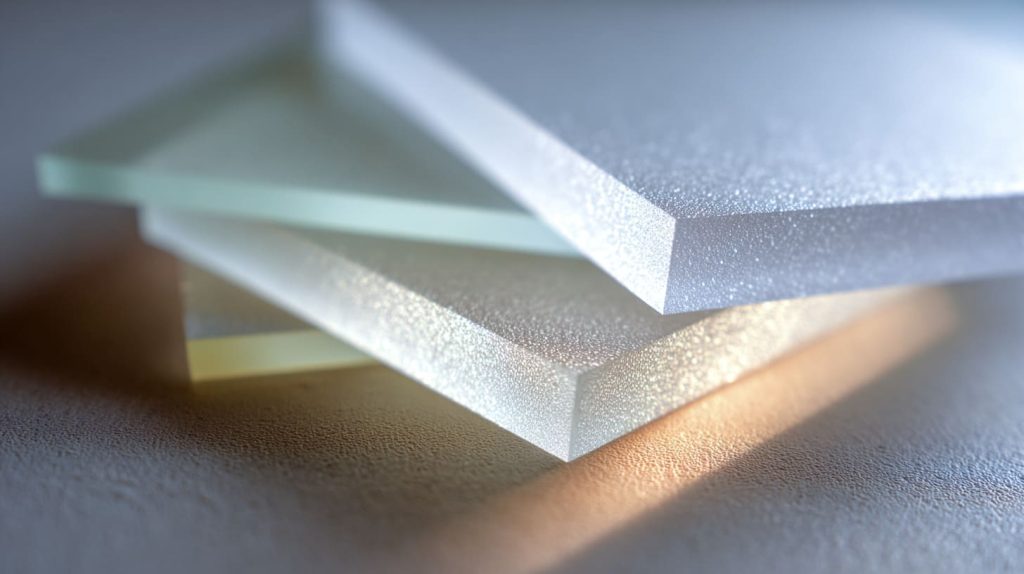
P95 acrylic is often described as a matte or frosted acrylic sheet. One side, or sometimes both sides, has a textured surface. This surface helps reduce glare and reflection.
That sounds close to diffusion.
But it is not the same.
This is the first place where many people misunderstand the material. They look at the frosted surface and assume it can spread LED light evenly. I do not blame them. The material feels soft. It looks hazy. It does not shine like clear acrylic.
But surface appearance can be misleading.
Surface treatment vs light diffusion
P95 mainly changes how the surface handles light from outside.
For example, if a ceiling lamp shines onto a clear acrylic panel, the clear panel may reflect the lamp like a mirror. The reflection can be harsh. It can disturb the view of a product, picture, sign, or display.
P95 reduces that direct reflection because the surface is not smooth like clear acrylic. The surface breaks up reflected light. So the glare looks softer.
But LED hotspots are different.
LED hotspots come from light behind the acrylic. The light is moving through the sheet toward the viewer. That is transmitted light, not surface reflection.
So the problem is not only, “Can the surface reduce reflection?”
The real question is:
Can the material spread strong point light from behind before it reaches the viewer?
P95 may help a little. But it is not made only for this job.
| Feature | P95 Acrylic | True LED Diffuser Acrylic |
|---|---|---|
| Main purpose | Reduce surface glare | Spread transmitted LED light |
| Surface | Matte or frosted texture | May be opal, milky, or engineered diffuser |
| Best use | Display covers, frames, protective panels | Backlit signs, light boxes, LED panels |
| Hotspot control | Limited | Much stronger |
| Visual risk | Soft surface, still uneven backlight | Better uniform light if design is correct |
P95 is useful. I use it. I respect it.
But I do not ask it to do a job it was not designed to do.
Optical behavior of P95
When light hits P95 from the front, the matte surface scatters that reflected light. This is why the surface can look less shiny.
But when strong LED light comes from the back, the situation changes.
The LED is a small and bright point source. It pushes light forward. If the LED is too close to the panel, the acrylic surface may not have enough space or material depth to mix that light.
So the viewer still sees the bright spot.
It may look slightly softer than clear acrylic.
But softer does not mean hidden.
I often explain it to customers like this:
Clear acrylic is like a clean window.
P95 acrylic is like a window with a soft surface.
A real diffuser is more like a curtain that spreads light before it reaches your eyes.
These three things are not the same.
Common misunderstandings
The most common misunderstanding is simple:
This sounds logical, but it can be dangerous in real production.
A buyer may say, “We do not need special diffuser acrylic. P95 is already frosted.”
Then the first sample comes out with visible LED dots.
Now the team has to decide:
- Do we change the acrylic?
- Do we increase thickness?
- Do we add diffuser film?
- Do we redesign the LED layout?
- Do we make the light box deeper?
- Do we accept the result?
Each choice costs time.
And time is also money.
Another misunderstanding is about the word “anti-glare.” Some people think anti-glare means the same thing as even light. It does not.
Anti-glare talks about reducing reflected glare from outside.
Light uniformity talks about making the light from inside look smooth.
They are cousins, not twins.
| Misunderstanding | What people expect | What may happen |
|---|---|---|
| P95 can hide all LED dots | Smooth front face | Hotspots still visible |
| Frosted surface equals diffuser | Even light spread | Only surface glare is reduced |
| Thicker is always better | No hotspots | Better, but not always enough |
| Lower LED brightness solves everything | Softer look | Display may become too dim |
| Same material works in all light boxes | Easy standard solution | Different depth and layout need different design |
I have learned to slow down when a customer uses the word “frosted.” The word sounds clear, but the expectation behind it may not be clear.
Acrylic names can feel simple on a quote sheet. The real test begins when light passes through them.
Why LED Hotspots Still Appear with P95 Acrylic
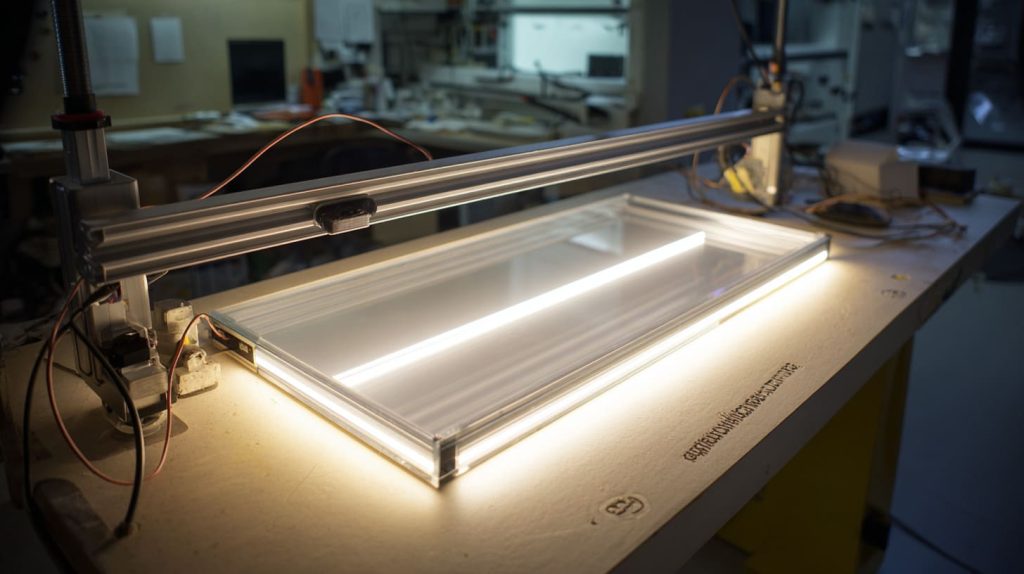
LED hotspots appear because the light is not mixed well before it reaches the front panel.
That is the simple version.
The real version has more moving parts.
A hotspot is not only a material problem. It can come from LED spacing, LED brightness, panel distance, sheet thickness, internal reflection, and the final viewing distance.
This is why a customer may change from clear acrylic to P95 and still feel disappointed.
The material changed.
But the light path did not change enough.
Insufficient diffusion capability
P95 has a frosted or matte surface. It can scatter some light. But it may not scatter enough light to hide strong LED points.
Think about a flashlight behind a thin white cloth.
The cloth may soften the light.
But if the flashlight is too close, you still see the bright center.
That is what happens with LEDs behind P95.
The light source is too strong and too direct. The surface treatment gives only limited help.
| Material choice | Hotspot hiding ability | Visual effect |
|---|---|---|
| Clear acrylic | Very low | Sharp LED dots |
| P95 acrylic | Low to medium | Softer dots, but still visible |
| Opal acrylic | Medium to high | More even, lower brightness |
| LED diffuser acrylic | High | Better balance between diffusion and light output |
| Multi-layer system | High | Best control, higher cost and thicker structure |
This is why I do not promise hotspot-free performance based on P95 alone.
For real LED projects, I judge P95 by the full light path, not by the sheet name, because a matte surface can make a sample look more professional while still leaving the same lighting mistake underneath.
That mistake can hide during drawing review.
It cannot hide when the sample lights up.
LED spacing too wide
LED spacing is one of the biggest reasons hotspots remain visible.
If LED modules are far apart, each LED creates its own bright zone. The area between two LEDs may look darker. P95 cannot fully fill that gap.
Many buyers focus on the acrylic panel first because it is the visible part. But the LED layout behind the panel often decides the result before the acrylic is even installed.
A common rule is easy to understand:
Wider LED spacing needs more depth or stronger diffusion.
If there is not enough depth, the light does not have time to spread.
If there is not enough diffusion, the bright points stay visible.
| LED spacing | Light box depth | Hotspot risk |
|---|---|---|
| Tight spacing | Medium depth | Lower risk |
| Tight spacing | Shallow depth | Medium risk |
| Wide spacing | Medium depth | Medium to high risk |
| Wide spacing | Shallow depth | Very high risk |
This is why I often ask for LED strip photos or LED module layout before final material advice.
Acrylic cannot save every poor layout.
It can help.
But it cannot perform miracles.
Acrylic thickness limitations
Thin acrylic is common because it is lighter, cheaper, and easier to use. For many covers and displays, 2mm or 3mm acrylic can work well.
But for LED diffusion, thin sheets may not be enough.
Light needs a path to scatter. A thicker sheet gives more room for scattering, especially if the material itself has diffusion properties.
With P95, thickness can help a little. But if the sheet is only surface-frosted and the LED is too close, thickness alone may still not solve the problem.
| Acrylic thickness | Possible benefit | Possible limitation |
|---|---|---|
| 2mm | Low cost, light weight | Weak diffusion |
| 3mm | Common for display covers | Still limited for LEDs |
| 5mm | Better light spread | Higher cost and weight |
| 8mm+ | Stronger visual depth | May be too heavy or expensive |
| Multi-layer | Better control | More assembly work |
A thicker sheet can reduce hotspots, but it also changes the price, weight, structure, and shipping cost.
So the answer is not always “make it thicker.”
The answer is “test the right combination.”
Distance between LED and panel too short
Light box depth is another silent killer.
Many designers want a slim product. I understand that. Slim looks modern. Slim saves space. Slim can reduce material cost.
But a shallow light box gives LED light very little room to blend.
If the LED is close to the acrylic, the hotspot becomes harder to hide. Even diffuser-grade acrylic may struggle if the distance is too short and the LEDs are too bright.
This is where design and beauty fight each other.
A thin profile looks nice.
A deeper profile often lights better.
| Design goal | Benefit | Risk |
|---|---|---|
| Very slim light box | Modern look, lower bulk | Hotspots are easier to see |
| Medium-depth light box | Better light mixing | Slightly larger structure |
| Deep light box | More even light | Higher material and space cost |
| Extra diffuser layer | Better uniformity | More parts and labor |
| Higher LED density | Smoother light | Higher LED cost and heat concern |
I once saw a small backlit retail sign where the customer wanted a very thin body. The sample looked nice when it was off. Clean edges. Good size. Nice front panel.
Then we turned it on.
The LED dots appeared right away.
The product looked cheaper when powered, even though the material quality was good.
That is a painful lesson. A lighted product must be judged when it is lit, not only when it sits on the table.
A good light box is not just a box with LEDs. It is a small stage, and light needs space to perform.
Key Factors That Affect Hotspot Visibility
Hotspots do not come from one single reason. They come from a group of small decisions.
One decision may not look serious.
A slightly brighter LED.
A slightly thinner acrylic panel.
A slightly shallower frame.
A slightly wider LED spacing.
Each choice looks acceptable alone. But together, they can create a front panel that looks uneven.
This is why I like to review lighting projects like a system, not like a single material purchase.
LED type and brightness
High-lumen LEDs can create stronger hotspots because each light point is more intense. If the acrylic does not diffuse the light well, those bright points push through the panel.
Lens angle also matters.
A narrow beam LED sends light forward in a tighter direction. This can increase hotspot risk. A wider beam LED spreads light more gently, so the panel may look smoother.
| LED factor | Lower hotspot risk | Higher hotspot risk |
|---|---|---|
| Brightness | Moderate output | Very high output |
| Beam angle | Wide angle | Narrow angle |
| LED density | More LEDs close together | Fewer LEDs far apart |
| Heat control | Stable brightness | Overheating, uneven aging |
| LED quality | Consistent output | Color and brightness variation |
Some buyers only ask for “brighter.”
That word can be dangerous.
A display that is bright but uneven may look worse than a display that is slightly softer but clean.
When I check an LED acrylic display, I care less about maximum brightness at first and more about whether the brightness looks calm to the eye, because the customer will notice uneven dots before he praises the extra light.
Brightness should serve the product.
It should not fight with the product.
Installation depth
Depth gives light room to mix.
If there is enough distance between the LEDs and the acrylic panel, the light spreads before it reaches the front. If the depth is too small, the LED point remains strong.
This is why the same acrylic may work in one light box but fail in another.
The sheet did not change.
The depth changed.
| Light box depth | Common result |
|---|---|
| Very shallow | High hotspot risk |
| Shallow | Needs dense LEDs or strong diffuser |
| Medium | More balanced result |
| Deep | Easier to hide hotspots |
| Deep with diffuser | Best chance for uniform light |
A designer may want a very thin frame. A purchasing manager may want lower cost. A brand owner may want a bright face.
All three goals can be reasonable.
But the light does not care about our meeting notes.
It follows physics.
Internal reflection and cavity design
The inside of the light box also affects the final result.
A white interior surface can help bounce light around and improve uniformity. A dark or uneven interior can absorb light and create patchy areas.
Reflective films can improve light use. But if they are not installed well, they may create strange bright lines or uneven reflection.
A light box is like a small room.
If the walls are dark, the room feels dim.
If the walls are white, the light spreads better.
If the walls are reflective in the wrong way, the light may become harsh.
| Interior design | Effect on light |
|---|---|
| Matte white inside | Soft reflection, better spread |
| Glossy reflective film | Higher brightness, possible glare lines |
| Dark inside surface | Lower brightness, uneven look |
| Uneven adhesive | Shadow or line marks |
| Poor corner design | Dark edges or bright corners |
Many people do not think about the inside surface because the buyer never sees it after assembly.
But the light sees it.
And the front panel tells the truth.
Viewing distance and angle
A hotspot problem is not always judged the same way.
A retail display viewed from 30cm is very different from a sign viewed from 5 meters away.
Close viewing exposes everything. Small dots, shadows, scratches, and uneven brightness become obvious.
Long-distance viewing is more forgiving.
Viewing angle also matters. Some panels look acceptable from the front but reveal uneven light from the side.
| Application | Typical viewing condition | Hotspot tolerance |
|---|---|---|
| Counter display | Very close | Very low tolerance |
| Cosmetic display | Close and visual-focused | Very low tolerance |
| Wall sign | Medium distance | Medium tolerance |
| Ceiling sign | Far distance | Higher tolerance |
| Industrial indicator panel | Functional view | Depends on requirement |
This is why I always want to know where the product will live.
Not just the drawing.
Not just the sheet size.
The environment.
The viewer.
The real use.
Acrylic does not fail alone. It often fails because nobody asked where the eyes would be.
When P95 Acrylic Works Well (And When It Doesn’t)
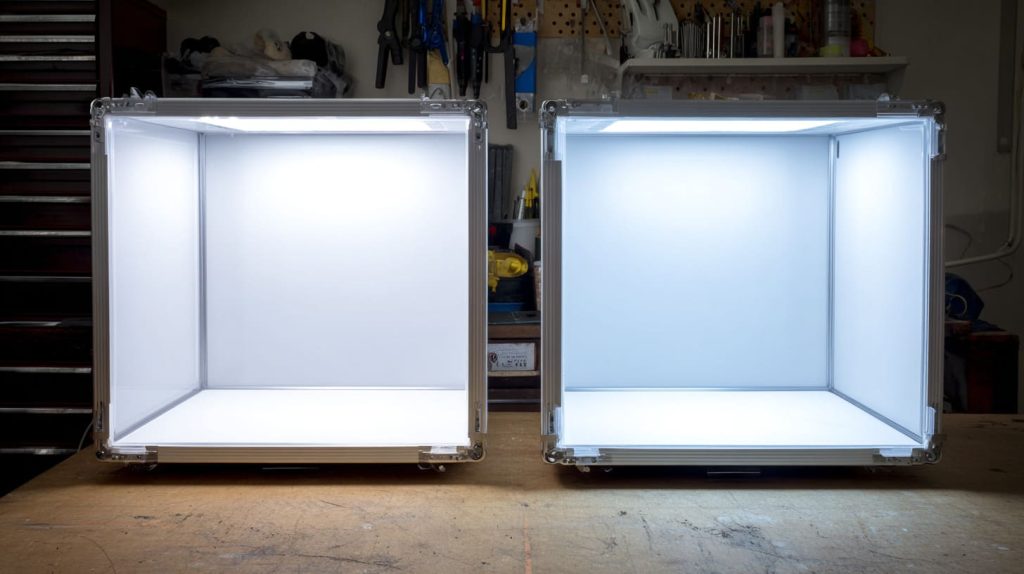
P95 acrylic is not a bad material.
I want to say that clearly.
It works very well in many projects. It can make a surface look softer. It can reduce reflection. It can protect products or images while keeping a clean appearance.
The problem starts when people use P95 for the wrong job.
A good material can still fail in the wrong application.
Suitable use cases
P95 works well when the main problem is glare from outside light.
For example, a display cover under store lighting may reflect ceiling lamps. P95 can make that reflection softer. A photo frame may show harsh glare from a window. P95 can make the viewing experience more comfortable.
It can also work for protective panels where the customer wants a matte finish.
| Suitable use case | Why P95 can work |
|---|---|
| Display cover | Reduces surface reflection |
| Acrylic frame cover | Softer viewing under room light |
| Protective panel | Matte appearance, less glare |
| Low-light decorative panel | Mild light softening may be enough |
| Retail display surface | Cleaner look under ceiling lights |
For these uses, P95 can be a smart choice.
It is not overcomplicated.
It is easy to explain.
It looks good.
Risky use cases
P95 becomes risky when the project depends on backlighting.
This includes LED signs, light boxes, illuminated logos, display shelves with LED strips, and edge-lit acrylic panels.
In these projects, the customer is not only asking for a nice surface. The customer wants smooth light.
That is a different requirement.
| Risky use case | Main concern |
|---|---|
| LED backlit signage | Hotspots behind letters or panels |
| Thin light boxes | Not enough depth for blending |
| Edge-lit panels | Need LGP or proper dot pattern |
| Bright retail displays | Strong LED points show through |
| Large illuminated panels | Uneven light across wide area |
I become careful when a customer says, “We just need a frosted acrylic front,” because that sentence may hide a bigger expectation: they may want perfect light uniformity but only budget for a simple matte sheet.
That gap between expectation and budget is where trouble starts.
Real project scenarios
Let me use two simple cases.
One customer needed an acrylic cover for a framed printed image. The store had strong ceiling lights. Clear acrylic reflected too much light. We tested P95, and the result was acceptable. The image became a little softer, but the glare was reduced. The customer liked the balance.
That was a good use of P95.
Another customer wanted a slim LED display panel. The LEDs were close to the front sheet. The body depth was very small. The first idea was to use P95 because it was already familiar and easy to source.
The sample still showed hotspots.
The acrylic was not “bad.”
The design was asking too much from it.
We had to adjust the structure and test a stronger diffuser solution.
The second case is more common than people expect.
| Project type | P95 result | My view |
|---|---|---|
| Picture cover under room light | Usually good | Suitable use |
| Acrylic display dust cover | Usually good | Safe choice |
| Low-brightness decorative light | Maybe acceptable | Test first |
| Thin LED light box | Often risky | Needs design review |
| High-brightness sign | High risk | Use diffuser strategy |
P95 is like a polite worker. It does its own job well.
But if we ask it to do the work of three people, it will struggle.
The material is not wrong. The job description is wrong.
Better Alternatives to Reduce LED Hotspots
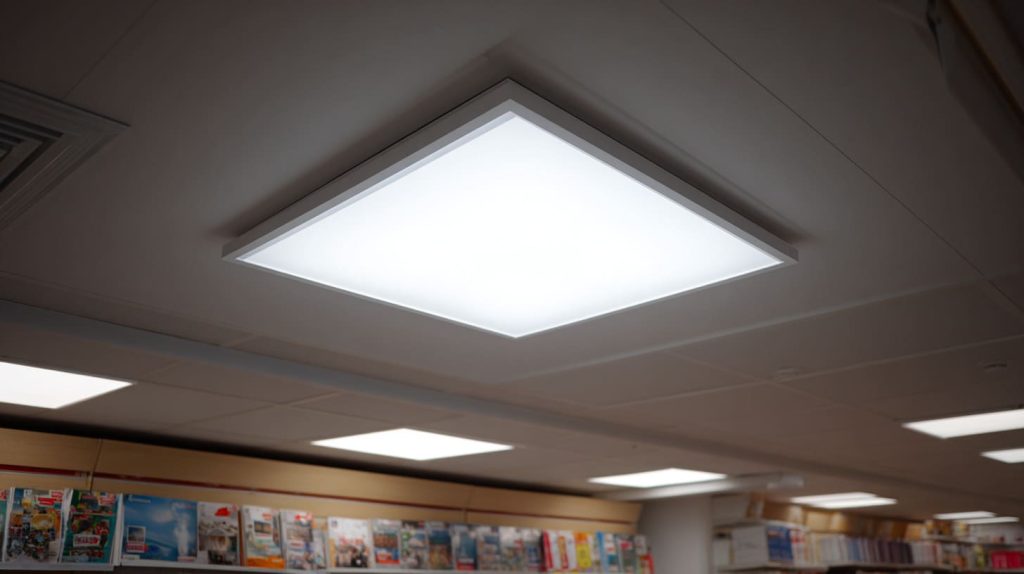
If the real goal is to reduce LED hotspots, we should start with diffuser thinking.
Not surface thinking.
This means we need to choose materials and structures that spread transmitted light from behind. P95 may be part of the solution, but it should not always be the whole solution.
True diffuser acrylic
True diffuser acrylic is made to scatter light passing through the sheet.
It may look milky, opal, or specially treated. Some diffuser-grade PMMA sheets are designed for LED lighting applications. They try to balance two things:
- Hiding LED points
- Keeping enough light output
This balance is important.
If a sheet diffuses too much, the panel may look smooth but dim.
If it transmits too much, the panel may look bright but spotty.
| Material | Diffusion | Light transmission | Common trade-off |
|---|---|---|---|
| Clear acrylic | Very low | Very high | Hotspots visible |
| P95 acrylic | Low to medium | Medium to high | Glare reduced, hotspots may remain |
| Opal acrylic | Medium to high | Medium | Better diffusion, lower brightness |
| LED diffuser acrylic | High | Designed balance | Higher cost |
| Diffuser film | Medium to high | Depends on film | Extra layer and labor |
My first decision is usually not “Which sheet is cheapest?” but “How much light can we afford to lose while making the front face look smooth?”
That question changes the conversation.
It makes the buyer think about performance, not only material name.
Multi-layer solutions
Sometimes one material is not enough.
A multi-layer solution can work better.
For example:
- P95 acrylic + diffuser film
- Clear acrylic + opal diffuser layer
- P95 front surface + internal diffusion sheet
- Acrylic panel + reflective back layer
- Diffuser acrylic + deeper cavity
This approach gives more control.
But it also adds cost, thickness, and assembly steps.
| Solution | Benefit | Possible issue |
|---|---|---|
| P95 + diffuser film | Keeps matte front, improves diffusion | More labor |
| Opal acrylic only | Simple structure | May reduce brightness |
| Two acrylic layers | Better light mixing | Heavier and thicker |
| Diffuser film inside | Flexible adjustment | Adhesive or dust risk |
| Reflective film + diffuser | Better efficiency | Needs careful installation |
Multi-layer design is like cooking.
One ingredient may not create the full flavor.
But too many layers can also make the dish heavy.
So I test.
I do not guess.
Increasing acrylic thickness
A thicker acrylic panel can help soften light because the light travels through more material. If the material has diffusion properties, thickness can improve the effect.
But this has limits.
Thicker acrylic costs more. It weighs more. It may affect edge finishing. It may change the look of the final product.
For large panels, shipping and handling also become more serious.
| Thickness change | Benefit | Cost concern |
|---|---|---|
| 2mm to 3mm | Slight improvement | Small cost increase |
| 3mm to 5mm | More visible improvement | Higher material cost |
| 5mm to 8mm | Stronger diffusion and depth | Weight and structure issue |
| 8mm+ | Premium feel, better depth | Expensive for large panels |
If the LED layout is poor, thickness alone may not fix the problem.
A thick wrong solution is still a wrong solution.
Switching materials
Sometimes acrylic is not the only option.
Polycarbonate diffuser panels can work for some lighting applications. They offer better impact resistance and can be useful where durability matters.
Specialized LED diffusion boards may also work better than standard acrylic in certain lighting designs.
But switching material changes many things:
- Cost
- MOQ
- Cutting process
- Surface appearance
- Scratch resistance
- Flame or safety requirements
- Long-term color stability
- Supplier availability
| Material option | Good point | Watch carefully |
|---|---|---|
| Diffuser acrylic | Clean appearance, easy processing | Need correct grade |
| Opal acrylic | Common and simple | May lower brightness |
| Polycarbonate diffuser | Strong impact resistance | More scratch-sensitive |
| Diffuser film | Flexible and adjustable | Extra assembly risk |
| LGP panel | Good for edge-lit designs | Needs correct dot pattern |
There is no one perfect material.
There is only a better match.
That sentence sounds simple, but it is how many good samples are made.
The right diffuser is not always the most expensive one. It is the one that fits the light path.
Design Solutions Beyond Material Choice
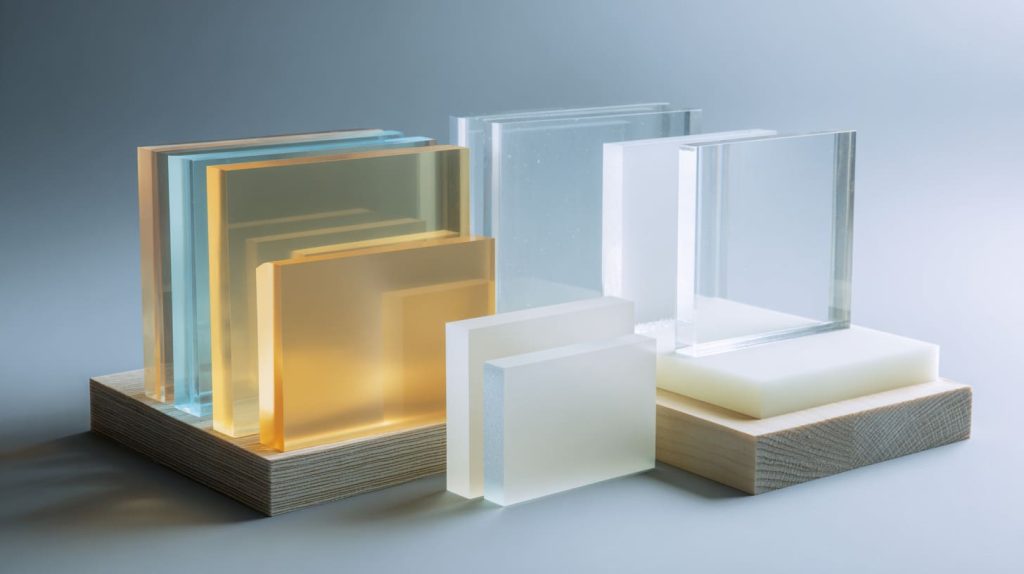
Material choice matters.
But it is only one part of the story.
I have seen projects fail because everyone blamed the acrylic while the real problem sat behind it. The LED spacing was too wide. The light box was too shallow. The inside surface was not reflective enough. The heat was not controlled.
Changing the acrylic helped a little.
But the real fix came from the design.
Optimizing LED layout
A better LED layout can reduce hotspot risk before the light reaches the acrylic.
More LEDs placed closer together can create a more even base of light. Wide-spacing modules can create visible bright and dark zones.
But more LEDs also mean higher cost, more wiring, and more heat.
So the goal is not to add LEDs blindly.
The goal is to place them wisely.
| LED layout choice | Benefit | Risk |
|---|---|---|
| Higher density strip | Smoother light | Higher cost and heat |
| Wider spacing | Lower cost | More hotspots |
| Wide beam LEDs | Better spread | May need more power |
| Poor corner layout | Cheaper assembly | Dark corners |
| Balanced grid layout | Even coverage | More planning needed |
When a customer sends me a thin light box drawing, I often look at the LED layout before the acrylic drawing, because the front sheet usually gets blamed for a problem that started behind it.
That is not textbook thinking.
That is factory thinking.
Increasing light box depth
Depth gives light space to blend.
This is one of the cleanest ways to reduce hotspots.
But depth affects product appearance. It may make the product thicker than the designer wants. It may change mounting hardware. It may affect packaging.
So we need to balance visual design and lighting performance.
| Depth direction | Design impact | Lighting impact |
|---|---|---|
| Very thin | Modern and compact | High hotspot risk |
| Medium depth | Balanced appearance | Better light blending |
| More depth | Less slim | Better uniformity |
| More depth + diffuser | Strong performance | Higher cost and larger body |
A buyer may resist depth changes because the product already has a fixed design.
I understand that.
But sometimes 5mm or 10mm more depth can save the whole visual result.
A small space can make a big difference when light needs to breathe.
Adding internal diffusion layers
An internal diffuser layer can help spread light before it reaches the front acrylic.
This can be a diffuser film, a second acrylic sheet, or another translucent layer. It can reduce visible LED points and improve uniformity.
But it also adds assembly control issues.
Dust can get trapped.
Adhesive marks can show.
Layers can shift.
Edges may need better finishing.
| Internal layer | Benefit | Production concern |
|---|---|---|
| Diffuser film | Thin and flexible | Dust and adhesive marks |
| Second acrylic layer | Stronger diffusion | Thickness and weight |
| Translucent insert | Easy to test | May look less premium |
| Reflective back film | Improves light use | Wrinkle or line risk |
A layered design can be very effective.
But it must be made carefully.
A diffuser layer with dust inside may solve hotspots and create a new complaint.
That is not a win.
Using side-lit design carefully
Side-lit, or edge-lit, designs can look beautiful when done correctly.
The LED is placed at the edge of the acrylic or light guide panel. Light travels through the panel and exits through patterns, dots, or surfaces that control the light.
But edge-lit design is not just “put LED on the side.”
It often needs a proper light guide panel, dot pattern, reflective backing, and controlled edge treatment.
If these details are ignored, the panel may show bright edges, dark centers, or uneven zones.
| Edge-lit factor | Why it matters |
|---|---|
| Light guide quality | Controls how light spreads |
| Dot pattern | Helps release light evenly |
| LED edge position | Prevents bright edge lines |
| Reflective backing | Pushes light forward |
| Panel thickness | Affects light travel |
Edge-lit design can be clean and slim.
But it needs respect.
It is not a shortcut.
It is a different system.
Acrylic lighting is a little like music. The material, LEDs, distance, and reflection all need to play together. If one part is too loud, the whole song feels wrong.
Cost vs Performance Trade-Off in B2B Projects
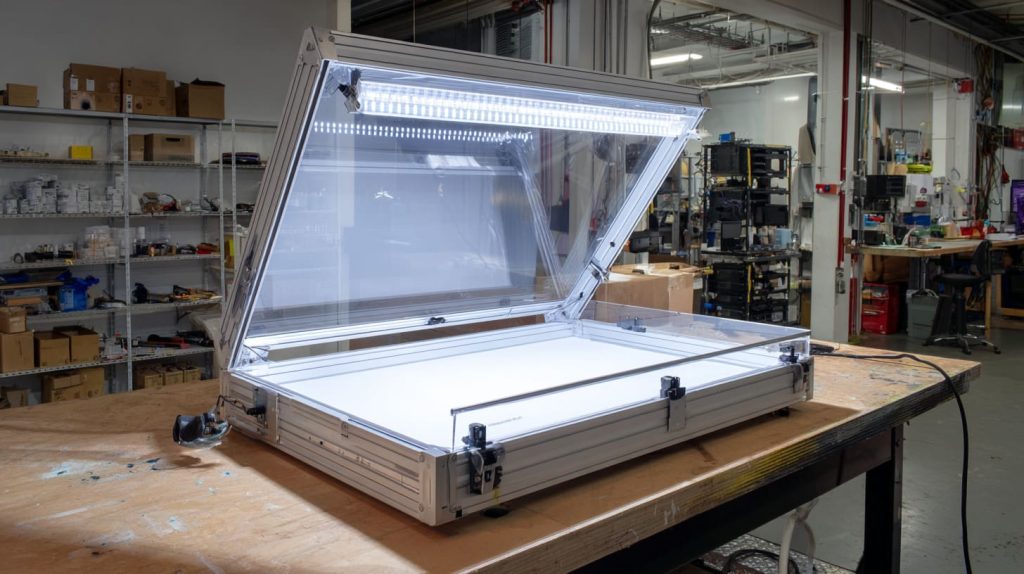
In real B2B work, cost is never far away.
A buyer may not say it directly in every email, but it is always there. The project needs a target price. The customer wants good quality. The factory needs a workable process. The purchasing team needs a clean explanation.
This is why P95 is often attractive at the beginning.
It is familiar.
It is easier to quote.
It may cost less than special diffuser acrylic or multi-layer systems.
But the lowest first quote is not always the lowest final cost.
Why buyers choose P95 initially
P95 feels safe because many people already know it.
It has a clean matte look. It can reduce glare. It is easier to explain than a special optical diffuser material.
For many simple projects, it works well.
So it is not strange that buyers choose it first.
| Why P95 is chosen | Buyer logic |
|---|---|
| Lower cost | Keeps quotation attractive |
| Easy sourcing | Less supply risk |
| Familiar material | Easier internal approval |
| Matte appearance | Looks more premium than clear acrylic |
| Simple processing | Easier cutting and fabrication |
The problem starts when the project has a hidden lighting requirement.
The buyer thinks he is buying a frosted surface.
The end customer expects perfect light.
Those are not the same order.
Hidden costs of failure
If P95 fails to hide LED hotspots, the real cost may show up later.
The team may need another sample round. The acrylic may need to be changed. The light box may need a new depth. The LED layout may need adjustment. The customer may lose trust.
This cost is harder to see in the first quotation.
But it is very real.
| Hidden cost | What it feels like in real work |
|---|---|
| Extra sample | More time and shipping cost |
| Redesign | Engineer time and drawing changes |
| Material change | New quote and approval |
| Delayed launch | Customer pressure |
| Brand concern | Display looks cheaper than expected |
I have learned to be careful when a buyer says, “Please keep the cost low first,” because if the sample fails visually, the second round usually costs more than choosing a better structure from the beginning.
This is not about selling a more expensive material.
It is about avoiding a false saving.
How to balance budget and performance
The best way is not to choose the most expensive solution.
The best way is to define the acceptable result early.
For example, we can ask:
- Will the panel be viewed from close distance?
- Does the customer accept mild brightness variation?
- Is the LED layout already fixed?
- Can the light box depth be changed?
- Is brightness more important than uniformity?
- Is this for a premium retail display or a basic functional sign?
These questions help us avoid blind material selection.
| Project priority | Better direction |
|---|---|
| Lowest cost | Test P95 or opal acrylic with simple LED layout |
| Smoothest light | Use diffuser acrylic and deeper structure |
| Slim design | Use higher LED density or LGP system |
| Premium retail look | Prototype before production |
| Large quantity order | Validate sample before tooling or bulk material purchase |
For mass production, a sample is not a cost.
It is insurance.
A good sample answers questions before 1,000 pieces repeat the same mistake.
Cost control is important. But the cheapest mistake is the one we catch before production.
How to Evaluate the Right Solution Before Production
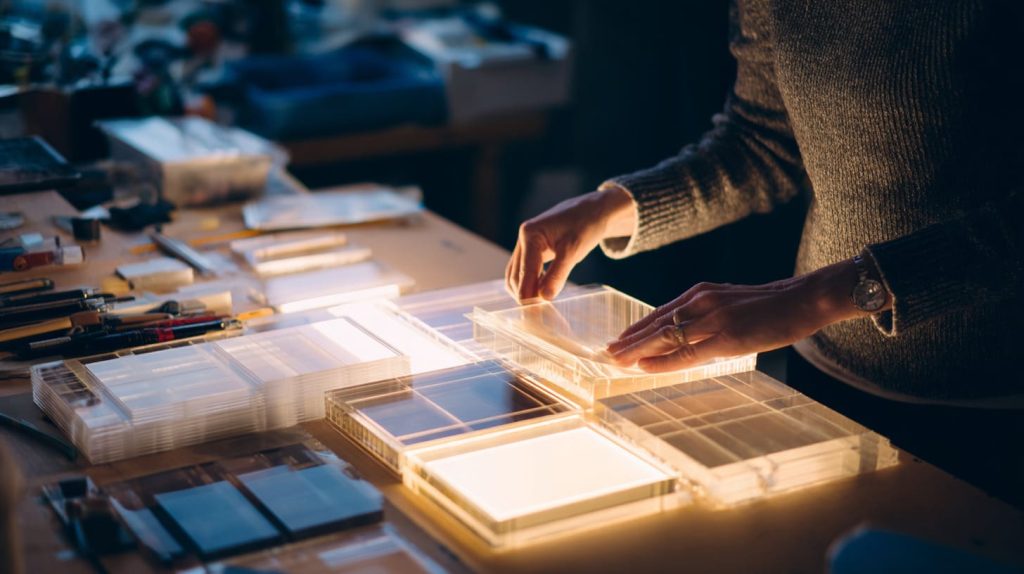
The best way to avoid LED hotspot problems is to test the real lighting condition before mass production.
Not just material samples.
Not just a small cut piece under room light.
The real structure matters.
The LEDs must be installed at the planned distance. The panel must use the planned thickness. The inside surface must be similar to final production. The viewing distance should also match real use.
A sample should answer the real question.
Not a smaller, easier question.
Sample testing methods
I like simple tests that show the truth quickly.
A mockup does not need to be beautiful at first. It needs to be honest.
We can test different acrylic sheets, LED distances, LED brightness levels, and diffuser layers. We can compare them side by side.
This is much better than guessing from material names.
| Test item | What to compare |
|---|---|
| Acrylic type | P95, opal, diffuser acrylic |
| Thickness | 2mm, 3mm, 5mm, 8mm |
| LED distance | Shallow, medium, deeper setup |
| LED spacing | Current layout vs denser layout |
| Interior surface | White, reflective, dark |
| Viewing distance | Close, medium, far |
Photos can help, but eyes are better.
A phone camera may exaggerate hotspots or hide them, depending on exposure. So I prefer direct sample review when possible.
If the customer is overseas, we can still send clear photos and videos under controlled lighting. But we should be honest about camera limits.
Questions to ask your supplier
A good supplier should not only ask for dimensions and quantity.
For LED-related acrylic work, the supplier should ask about lighting details.
Here are questions I like to ask before giving strong material advice:
| Question | Why it matters |
|---|---|
| What LED type will be used? | Brightness and beam angle affect hotspots |
| What is the LED spacing? | Wide spacing increases uneven light |
| How deep is the light box? | Depth affects light mixing |
| What viewing distance is expected? | Close viewing needs better uniformity |
| Is brightness or smoothness more important? | These goals may conflict |
| Can we add diffuser film or extra layer? | Gives more design options |
| Is the design fixed already? | Limits what can be changed |
Before I approve a material suggestion, I try to find the one detail that the drawing does not show, because that missing detail is often the reason a sample looks different from what everyone expected.
A drawing shows size.
It does not always show light behavior.
That is why communication matters.
Small-batch validation
For B2B custom orders, small-batch validation can protect both sides.
If the project is new or the lighting requirement is strict, it is better to make one or a few samples before full production.
This gives the buyer time to check:
- Light uniformity
- Brightness level
- Surface look
- Edge quality
- Assembly method
- Heat behavior
- Real viewing effect
| Validation step | Purpose |
|---|---|
| Material sample | Check surface and basic light effect |
| Structure mockup | Check LED distance and layout |
| Full appearance sample | Check real product look |
| Small pilot run | Check repeatability |
| Mass production | Start only after approval |
I know buyers do not always like extra sample time.
I understand that pressure.
But lighting problems are hard to fix after mass production. A small test can feel slow at first, but it often makes the whole project faster.
The sample table does not lie. It shows what the quote sheet cannot show.
Conclusion
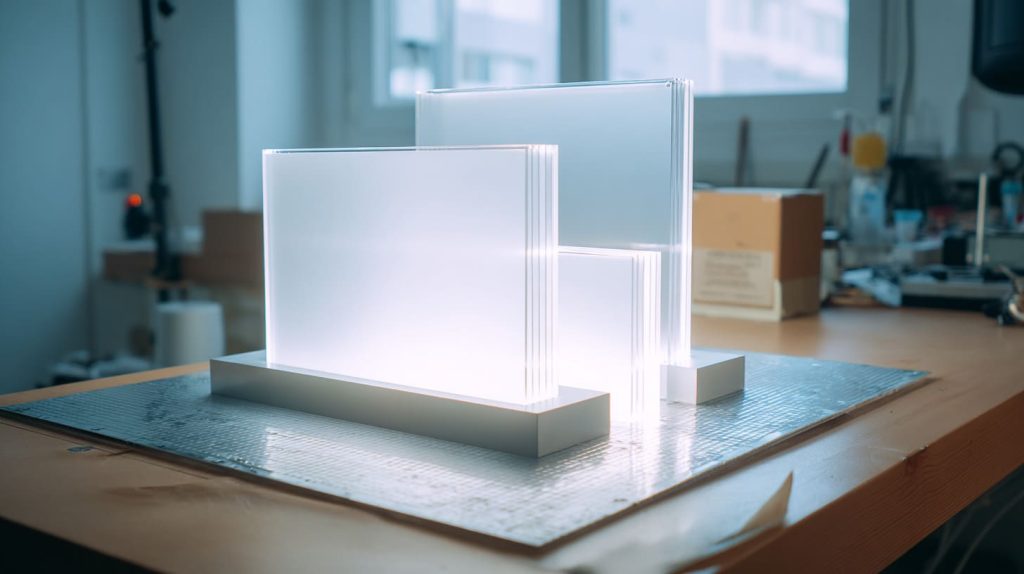
P95 acrylic can be useful, but it is not a true answer for every LED hotspot problem.
That is the main point I want to leave with you.
I use P95 when the job fits it. If the main goal is to reduce surface glare, soften reflection, or create a matte protective cover, P95 can be a good choice. It has its place. It has value.
But if the job is to hide strong LED points behind a panel, I slow down.
I do this because I have seen how easy it is for a project team to blame the acrylic after the sample fails. But many times, the real problem is not only the sheet. It is the whole system.
The LED spacing may be too wide.
The light box may be too shallow.
The acrylic may be too thin.
The LED may be too bright.
The internal surface may not help reflection.
The viewing distance may be too close.
P95 may only be the last part of a chain of decisions that already created the hotspot problem.
That is why I believe light diffusion should be treated as an engineering decision, not a material shortcut.
For custom acrylic projects, I usually think in this order:
| Step | What I check |
|---|---|
| 1 | What result does the customer expect? |
| 2 | Where is the LED source? |
| 3 | How much space does light have to spread? |
| 4 | What material can support that structure? |
| 5 | What sample test can prove the result? |
This is also why I prefer honest sample testing before large production. A good supplier should not only say “yes” to a material request. A good supplier should help the buyer see the hidden risk before the order becomes expensive.
At Feilong Acrylic, we work on custom acrylic displays, boxes, frames, signs, covers, racks, and many other acrylic parts for B2B customers. We do not believe every project needs the most expensive material. But we also do not believe a simple material name can solve every visual problem.
If you are developing a backlit acrylic display, LED sign, retail light box, or custom illuminated acrylic product, do not only ask, “Can P95 hide the hotspots?”
Ask a better question:
What combination of acrylic, LED layout, distance, and structure will give the result my customer expects?
That question is slower at the beginning.
But it is kinder to your budget.
It is kinder to your timeline.
And it is much kinder to the final sample sitting under the customer’s eyes.
If you have a custom acrylic lighting project and you are not sure whether P95, opal acrylic, diffuser acrylic, or a multi-layer design is the better choice, you can share your drawing, LED layout, target size, and application with us. We can help review the structure and suggest a practical sample direction before mass production.




