Skip to content
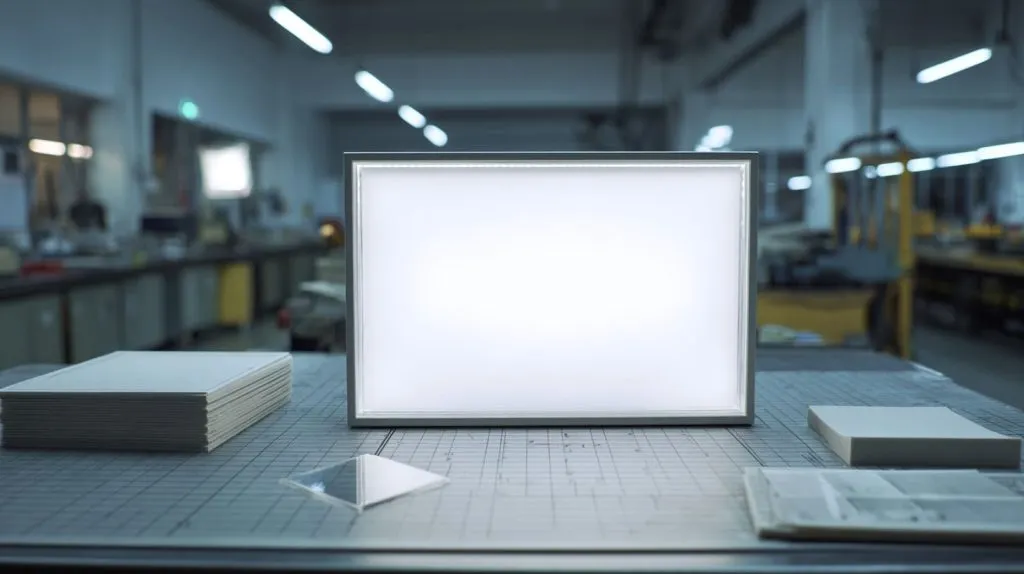
A thin LED light box can look very simple from the outside.
A slim frame.
A bright front panel.
A clean logo.
A soft white glow.
That is what the customer sees.
But inside that thin box, there is a small fight happening every second. The LED strip wants to show its dots. The acrylic panel wants to spread the light. The frame wants to stay slim. The buyer wants the cost to stay under control. And the final customer wants the display to look smooth from one meter away.
That small fight is where many projects fail.
I have seen this many times in custom acrylic work. A buyer may send me a drawing for a retail light box, a menu display, a cosmetic counter sign, or a small backlit brand panel. The drawing looks clean. The thickness is tight. The target price is clear. Then comes one sentence:
“Can we just use normal acrylic?”
I understand why people ask this.
To many buyers, acrylic is acrylic. If the sheet is white or frosted, it should diffuse light. Right?
Not always.
That is the expensive part.
A thin LED light box is not like a deep light box. In a deeper box, light has more space to mix before it reaches the front panel. The acrylic has help from distance. But in a thin design, the acrylic must do much more work. It must hide LED dots. It must keep brightness. It must keep the color clean. It must avoid dark zones near the edges. It must not make printed graphics look muddy.
That is a lot to ask from one sheet.
The first material to fail is often not the weakest material on paper. It is the material used in the wrong place. Clear acrylic, P95 acrylic, P99 acrylic, and low-quality recycled acrylic can all fail quickly in thin LED light boxes when the design depends on them to do a job they were not made to do.
For me, the real question is not, “Which acrylic is good?”
The better question is:
Which acrylic type fails first when the light box becomes too thin?
That question is more useful. It helps a buyer avoid the trap before making samples. It also helps a product designer think about the full system, not only the sheet name.
Because in real projects, a bad light box rarely fails loudly.
It fails quietly.
A few LED dots appear.
A corner looks darker.
The white panel turns a little yellow.
The logo loses its sharp edge.
The customer says, “It looks cheap.”
And suddenly, the low-cost material is not low-cost anymore.
Before I choose acrylic for a thin light box, I always ask myself one uncomfortable question: am I asking the sheet to solve a lighting problem that the structure should have solved first? That question has saved me from many wrong samples.
So let’s slow down and look at this carefully.
Not like a textbook.
More like we are standing beside a sample table, turning on a light box, and asking the hard question before the buyer does.
What Makes Thin LED Light Boxes So Challenging?
Thin LED light boxes are attractive because they look modern. They save space. They are easier to install. They look clean on a wall, counter, shelf, or display stand.
But the thinner the light box becomes, the less forgiving it becomes.
A deep light box is like a wide kitchen. You can move around. You can fix small mistakes. A thin light box is like cooking in a narrow hallway. Every small movement matters.
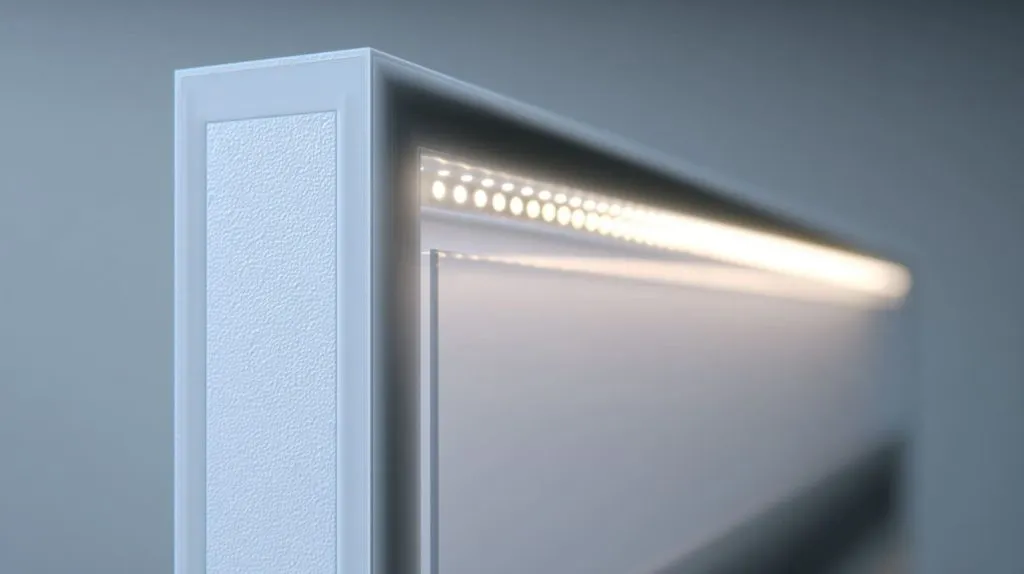
In thin LED designs, the distance between the LED and the acrylic panel is often very small. Sometimes it is only a few millimeters. This means the light has almost no room to spread before it hits the front sheet.
That is why the material choice becomes so sensitive.
Limited distance between LED and panel
The distance between the LED and front acrylic panel is one of the first things I check.
If the LED is too close to the panel, the light reaches the acrylic before it has time to mix. The result is simple: the viewer sees dots, stripes, or bright zones.
This is especially true when the LED strip sits along the edge, or when the LEDs are placed directly behind the panel.
A thin design can look elegant in a drawing. But when the light turns on, the truth appears.
| Design condition | What usually happens | Risk level |
|---|---|---|
| Very small LED-to-panel distance | LED dots appear clearly | High |
| Medium distance | Light can spread better | Medium |
| Larger distance | Acrylic has more chance to diffuse | Lower |
| Uneven distance | Some zones look bright, others look dark | High |
The difficult part is that buyers often judge the product by the outside thickness. They want the box slim. I understand that. A thick box may look bulky on a retail wall. It may also cost more to pack and ship.
But light does not care about our target thickness.
Light only cares about physics.
If the distance is too small, the acrylic must work harder. If the acrylic is not made for diffusion, the result will show very quickly.
A clear sheet will show the LED directly.
A simple frosted sheet may soften the surface only a little.
An anti-glare sheet may reduce reflection but still leave uneven light behind it.
This is where thin light boxes become tricky.
The product can pass a quick check in daylight. But when the shop lights are dimmed, or when the box is used at night, the problem becomes obvious.
High dependency on material performance
A thin LED light box depends heavily on the acrylic sheet.
The sheet is not only a cover. It is part of the lighting system.
It must do two jobs at the same time:
- Transmit enough light so the panel does not look dim.
- Diffuse enough light so the LED dots do not show.
This balance is hard.
If the acrylic is too transparent, the light is bright but uneven.
If the acrylic is too diffused, the light is smooth but weak.
That is why I do not judge acrylic only by appearance in the warehouse. A sheet may look white, matte, or premium under normal room light. But that does not mean it will work well in a thin LED box.
| Acrylic behavior | Good side | Bad side |
|---|---|---|
| High transmission | Brighter output | Hotspots may show |
| High diffusion | Smoother light | Brightness may drop |
| Matte surface | Less glare | May not hide LED dots |
| Internal diffusion | Better light mixing | Usually higher cost |
Surface treatment and internal structure are not the same thing.
This point matters a lot.
A frosted surface can scatter light on the surface. But if the sheet does not contain proper diffusion material inside, the light may still pass through in a way that keeps LED patterns visible.
To put it simply: a matte face is not a magic curtain.
It can hide some reflection. It cannot always hide a poor LED layout.
Sensitivity to design mistakes
Thin light boxes punish small mistakes.
A 1 mm change in thickness may affect the final look.
A small change in LED spacing may create visible dots.
A slightly wrong acrylic type may make the whole panel look uneven.
I once saw a sample that looked good from two meters away. The buyer liked it in photos. But when he checked it at arm’s length, he saw small bright dots near the logo edge. The whole sample suddenly felt unfinished.
The material was not “bad.” The problem was the combination.
The LED pitch was too wide.
The panel was too close.
The acrylic was only surface-frosted.
The frame depth was too tight.
Each small issue looked harmless alone. Together, they created failure.
Here is the honest part: when I see a very thin light box drawing, I do not first ask which acrylic looks nicest; I first look for the weakest point in the light path, because that weak point will become visible after assembly.
That is why thin LED light boxes require more careful thinking than standard light boxes.
The next question is where buyers usually make the wrong material choice first.
And this is where clear acrylic, P95, P99, and recycled sheets enter the story.
Which Acrylic Types Fail First in Thin Designs?
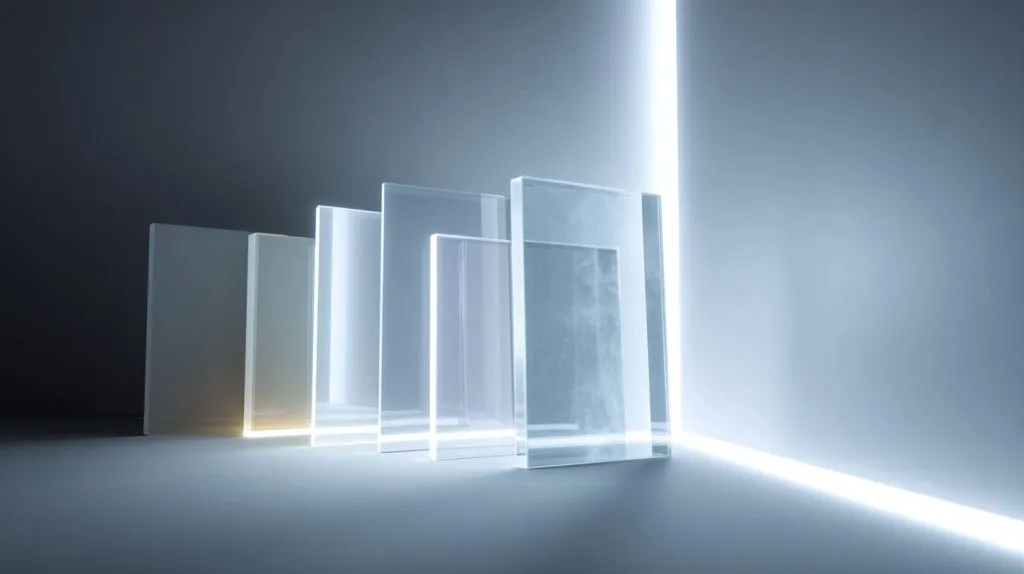
Not all acrylic fails in the same way.
Some acrylic fails because it is too clear.
Some fails because it only changes the surface.
Some fails because it was designed for a different job.
Some fails because the raw material quality is unstable.
In thin LED light boxes, the first failure is usually visual. The panel may not break. The sheet may not crack. The product may still work. But the light looks wrong.
And for a display product, looking wrong is enough to fail.
Clear acrylic (PMMA standard sheet)
Clear acrylic is beautiful in the right application.
It is clean. It has high transparency. It is useful for covers, display cases, photo blocks, shelves, guards, and many other custom products.
But in thin LED light boxes, clear acrylic is usually the first type to fail if the goal is soft light.
Why?
Because clear acrylic does not diffuse light in the way a light box needs.
It lets light pass through. That sounds good at first. But if the LED is close behind the panel, the viewer can see the light source pattern.
It is like looking through a clean window at a row of small lamps.
The window is not wrong.
The lamps are not wrong.
But the window cannot turn those lamps into a smooth sky.
| Acrylic type | Main strength | Thin LED light box problem |
|---|---|---|
| Clear PMMA | High clarity and bright transmission | Strong hotspots |
| Clear cast acrylic | Premium look and clean edge | Still poor diffusion |
| Clear extruded acrylic | Lower cost and stable thickness | Still shows LED pattern |
Some buyers try to solve this by adding white printing, film, or more distance. Sometimes that can help. But if the box is very thin, clear acrylic alone is usually not enough.
Clear acrylic can be useful as a protective outer layer. It can also work with a separate diffuser layer behind it. But as the main diffusion panel, it is risky.
Frosted acrylic (P95)
P95 acrylic is often misunderstood.
Many buyers see the matte surface and think it is a diffuser. I understand why. The surface looks soft. It reduces reflection. It feels more technical than clear acrylic.
But P95 is mainly a surface-finished acrylic. It has a frosted texture on one side. This surface can reduce glare and soften the appearance. But it does not always provide strong internal diffusion.
That difference is important.
If the LED dots are close behind the sheet, P95 may still show them. It may blur the dots a little, but it may not remove them.
I like to describe it this way:
P95 can make a sharp problem look slightly softer.
But it may not make the problem disappear.
| Buyer expectation | Real result in thin LED box |
|---|---|
| “P95 is frosted, so it will diffuse light.” | It may reduce surface glare, but hotspots can remain. |
| “The matte side will hide the LED dots.” | It may soften dots, not fully hide them. |
| “It looks premium, so it must perform better.” | Appearance and light diffusion are not the same. |
P95 can work in some display projects. It can be good for reducing glare on signs, covers, and display faces. It may also help when the LED system is already well-designed.
But if the light box depends on P95 alone to fix poor LED spacing, it often fails.
Anti-glare acrylic (P99)
P99 acrylic can sound even more attractive.
The name feels higher-end. The surface looks smooth and refined. It is often used when people want to reduce reflection and glare.
But P99 is not automatically a strong LED diffuser.
Its job is closer to reflection control than deep light mixing. In thin LED light boxes, this can create a strange result. The surface may look elegant, but the light behind it may still be uneven.
Even worse, P99 can sometimes make graphics look slightly soft or washed out if it is used in the wrong way. This matters when the light box includes printed logos, menu text, product labels, or fine graphic details.
| Material | Good use case | Risk in thin LED light box |
|---|---|---|
| P99 anti-glare acrylic | Reducing reflection on viewing surfaces | May not hide LED dots |
| P99 with printed graphics | Can reduce glare in bright rooms | May soften image detail |
| P99 as main diffuser | Risky if LED layout is poor | Uneven brightness may remain |
A buyer may think, “P99 sounds better than P95, so let’s use P99.”
But material names do not work like phone model numbers.
A higher number does not always mean better performance for every job.
This is where things often go wrong in purchasing: I do not upgrade to P99 just because the name sounds more premium; I only use it when the problem is glare, not when the real problem is LED diffusion.
That one distinction can save a project from a very expensive sample mistake.
Low-quality recycled acrylic
Low-quality recycled acrylic is another common failure point.
This issue is less glamorous, but it is very real.
When acrylic raw material quality is unstable, the sheet may have uneven color, lower clarity, impurities, or inconsistent light behavior. In a normal opaque product, some issues may not be easy to see. But in a lit product, the light exposes everything.
The light becomes a truth machine.
A sheet that looks acceptable under room light may show patchy zones when backlit. White may look slightly yellow. Different parts of the panel may not glow the same way.
| Problem in recycled acrylic | Possible visual result |
|---|---|
| Uneven material mix | Patchy brightness |
| Color impurity | Yellow or gray tone |
| Poor thickness control | Uneven light spread |
| Internal defects | Shadows or dark marks |
I am not saying all recycled acrylic is useless. That would be too simple. Some recycled content can be managed in certain products.
But for thin LED light boxes, especially for brand displays, I am very careful.
If the customer needs a clean white glow, stable color, and smooth surface, low-quality recycled acrylic is a risk.
A light box is not kind to weak material.
It will show the weak spots.
And once the weak spots show, the customer will not care that the material saved a few cents.
They will only see the failure.
Why Do These Acrylic Types Fail So Easily?
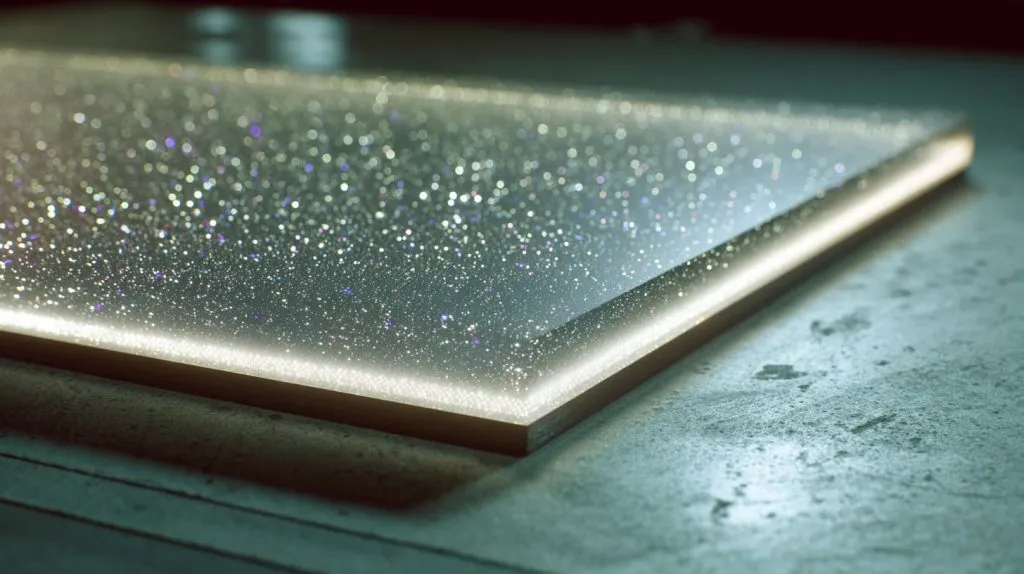
Acrylic does not fail in thin LED light boxes because it is a bad material.
It fails because the design asks the wrong acrylic to do the wrong job.
This is an important point.
Clear acrylic is not bad.
P95 is not bad.
P99 is not bad.
Even lower-cost acrylic has its place.
But when these sheets are used as the main solution for LED diffusion in a thin structure, the problem begins.
Lack of internal diffusion particles
Good LED diffuser acrylic usually works because it scatters light inside the sheet.
This is different from only roughening the surface.
Internal diffusion particles help break and spread the light path. When light enters the sheet, it does not move straight through like a spotlight. It scatters in many directions. This helps reduce LED dots and make the surface look more even.
Standard clear acrylic does not do this well. Some frosted sheets also do not do enough of this.
| Diffusion method | How it works | Thin light box result |
|---|---|---|
| Surface texture only | Scatters light mainly at surface | Limited help |
| Internal diffuser particles | Scatters light inside sheet | Better uniformity |
| Film layer only | Adds softening layer | Depends on quality and layout |
| Multi-layer system | Combines several light-control parts | Best for demanding projects |
In a thin light box, internal diffusion becomes more important because there is not enough air space for light to mix.
The acrylic must become part of the mixing system.
If the sheet does not scatter light internally, the LED pattern can pass through too directly.
Over-reliance on surface texture
This is one of the most common traps.
A buyer touches a frosted sheet and says, “This should diffuse light.”
I get it. The surface feels matte. It looks softer than clear acrylic. It seems logical.
But a surface texture can be like a thin curtain. It may soften what is behind it, but if the light source is strong and close, the shape still comes through.
Think about a flashlight behind thin paper. If the flashlight is close, you still see the bright center. If the flashlight moves farther away, the light spreads better.
Acrylic works in a similar way.
The surface can help. But distance, LED layout, and internal diffusion still matter.
| Surface look | Buyer feeling | Real question to ask |
|---|---|---|
| Clear | “Too transparent” | Do we need diffusion? |
| Frosted | “Soft and technical” | Is it surface-only or internal diffusion? |
| Anti-glare | “Premium and clean” | Is the problem glare or hotspots? |
| Milky white | “This must work” | What is the transmission and haze? |
A frosted surface can trick the eye before testing.
That is why I do not rely on touch or appearance alone.
A light box must be judged with lights on.
Mismatch between material and LED density
LED density has a direct effect on acrylic choice.
If the LED spacing is narrow, the light source is more continuous. The acrylic has less work to do. If the LED spacing is wide, each LED becomes a strong point source. The acrylic must work much harder.
This is where many thin designs fail.
A buyer may choose a low-density LED strip to save cost. Then he may choose a simple frosted acrylic to save more cost. On paper, the cost looks good. On the sample table, the dots appear.
That is the moment the hidden cost becomes visible.
| LED spacing | Acrylic requirement | Common risk |
|---|---|---|
| Very close LED spacing | Moderate diffusion may work | Higher LED cost |
| Medium spacing | Good diffuser needed | Balance is needed |
| Wide spacing | Strong diffusion needed | Hotspots likely |
| Edge-lit only | Light guide design matters | Dark center or bright edge |
The material and LED layout must be chosen together.
If one side is weak, the other side must compensate.
If both sides are weak, the product fails.
Thin panel limitations
Acrylic thickness also matters.
A thicker diffuser sheet may provide better light mixing. But a thicker sheet also affects the frame design, weight, cost, and appearance.
In thin light boxes, there is often pressure to use 2 mm or 3 mm acrylic. That can be fine in some designs. But if the LED is close and the spacing is wide, a thin sheet may not be enough.
| Acrylic thickness | Possible benefit | Possible problem |
|---|---|---|
| 2 mm | Slim and light | Limited diffusion |
| 3 mm | Common balance | Still needs proper material |
| 4 mm | Better strength and diffusion | More cost and thickness |
| 5 mm | Stronger and more stable | May not fit slim frame |
A thin sheet cannot perform miracles.
It can help. It can improve. It can balance. But it cannot fully repair a poor structure.
My working rule is simple: if a thin panel is already forced to be slim, I become stricter with LED spacing and acrylic grade, because the sheet has less physical room to forgive design mistakes.
That may sound conservative.
But in production, conservative thinking often protects the buyer’s money.
What Are the Visual Signs of Acrylic Failure?
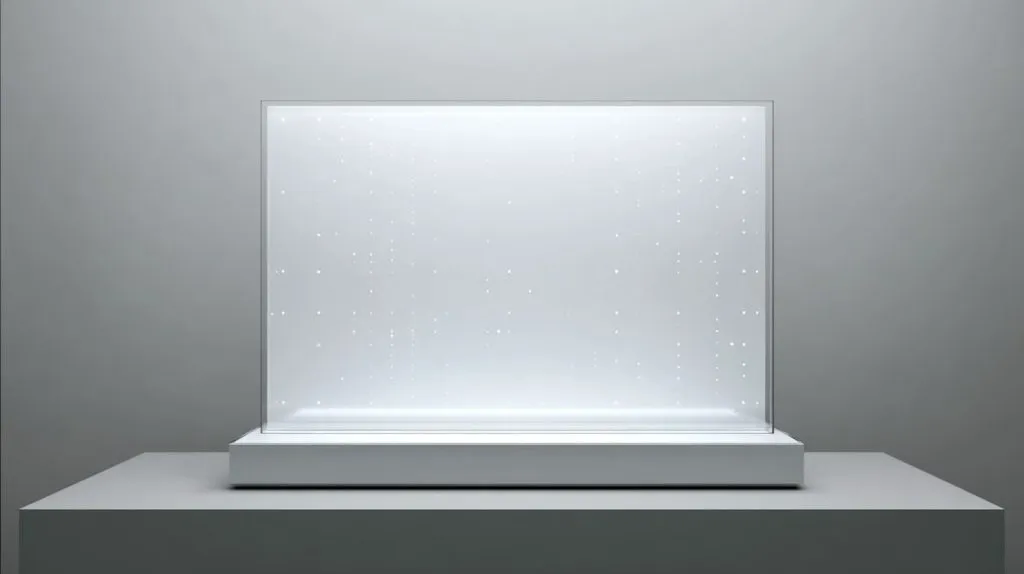
Acrylic failure in thin LED light boxes does not always look dramatic.
The sheet does not need to crack. The panel does not need to fall off. The LEDs do not need to stop working.
Sometimes the failure is just a feeling.
The light feels cheap.
The logo feels uneven.
The white surface feels dirty.
The product no longer looks professional.
That is enough.
A light box is a visual product. If the visual effect fails, the product fails.
LED hotspots and dot patterns
Hotspots are the most common sign.
They appear as small bright points on the panel. Sometimes they look like a row of little moons. Sometimes they look like a dotted line near the edge. Sometimes they show through the whole front surface.
This usually means the light source is too visible.
The cause may be:
- The LED is too close to the panel.
- The LED spacing is too wide.
- The acrylic has poor diffusion.
- The acrylic is too thin.
- The frame design gives no room for light mixing.
| Visual sign | Likely cause | First thing I check |
|---|---|---|
| Bright dots | LED too close or poor diffuser | LED pitch and acrylic type |
| Bright edge | Edge LED too strong or poor light guide | Frame depth and reflector |
| Dark center | Weak light distribution | Light guide and LED position |
| Repeating pattern | LED layout visible | Distance and diffuser grade |
Hotspots are not only a technical issue. They are a trust issue.
A customer may not know the word “hotspot.” But he knows the product looks unfinished.
Uneven brightness zones
Uneven brightness can be more subtle than hotspots.
One side may look brighter.
The center may look darker.
The corners may fade.
The panel may show cloudy zones.
This problem often happens when the acrylic is not working with the internal lighting structure.
For example, if the LEDs are placed only on one side and the light guide is weak, the side near the LED may look bright while the far side looks dim.
If the backing material is not reflective enough, light may be lost inside the box.
If the acrylic diffusion is not stable, the surface may look patchy.
| Uneven effect | Possible reason |
|---|---|
| Bright edge, dark center | Poor light guide or short mixing distance |
| Dark corners | Weak reflection or frame shadow |
| Cloudy patches | Material inconsistency |
| Bright lines | LED strip or internal ribs showing |
This kind of problem is painful because it may not show clearly in supplier photos.
Photos can hide uneven light. Exposure can make the sample look better than it is. A real sample in the buyer’s hand is much less forgiving.
Blurred or washed-out graphics
If the light box includes printed graphics, the acrylic choice becomes more complex.
A material that hides LED dots may also reduce image sharpness. A surface that reduces glare may make fine details look soft. A heavy matte surface may make black text look less clear.
This is common when anti-glare materials or strong matte sheets are used without testing the final graphic.
| Graphic issue | Possible material cause |
|---|---|
| Text looks soft | Heavy matte or anti-glare surface |
| Colors look weak | Too much diffusion or poor material tone |
| White background looks gray | Low light transmission |
| Logo edge looks unclear | Surface scattering affects sharpness |
This is why I prefer to test the real artwork, not only a blank panel.
A blank white light box may look acceptable. But after adding a logo, menu text, or product photo, the weakness may appear.
A thin LED light box is not only about light. It is also about how light works with printed content.
Color inconsistency
Color inconsistency is another sign of failure.
The panel may look yellowish. Or one batch may look different from another batch. Or the light may appear warm in one area and cool in another.
Some of this comes from LED quality. Some comes from acrylic material. Some comes from backing material and internal reflection.
Low-quality recycled acrylic can make this worse. The sheet may not have stable color or clean light transmission.
| Color problem | Possible source |
|---|---|
| Yellowish white | Acrylic raw material or LED color temperature |
| Gray-looking panel | Low transmission or dirty internal reflection |
| Different color zones | Uneven material or mixed LED bins |
| Batch-to-batch difference | Poor material control |
Here is the point I often make during sample review: I do not only look for the brightest sample; I look for the sample that still looks clean when I compare the center, edge, corner, and printed area under the same light.
Brightness alone can be misleading.
Clean, even light is the real goal.
A sample can be bright and still look bad.
That is the trap.
Which Acrylic Types Perform Better in Thin Light Boxes?
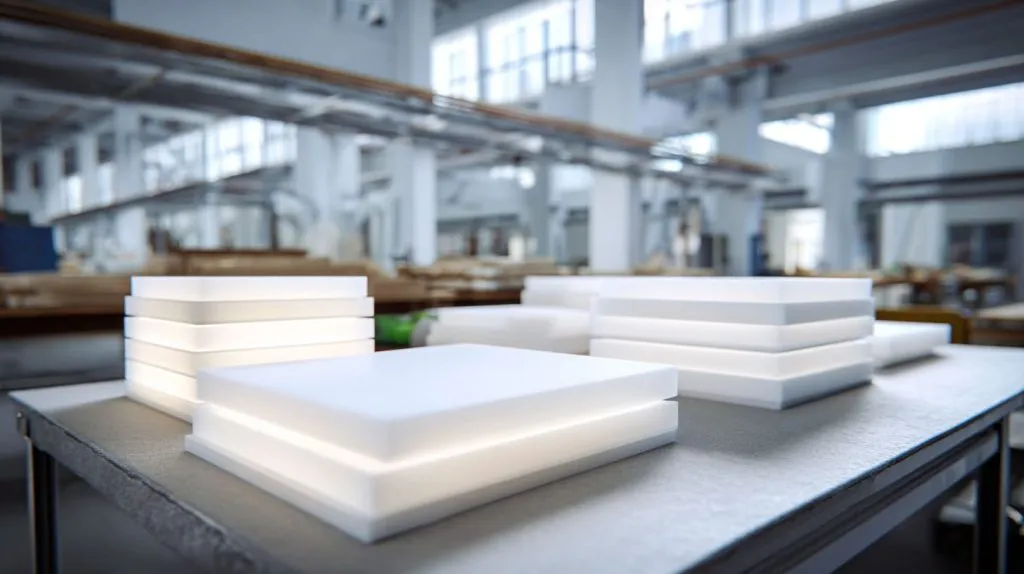
Now we come to the better choices.
If clear acrylic, P95, P99, and low-quality recycled sheets can fail in thin LED light boxes, what works better?
The answer depends on the design.
But in most thin LED projects, I look for acrylic that is made to scatter light more evenly. I also look at the whole lighting structure, not only the front panel.
A good diffuser does not only hide LEDs. It also keeps enough brightness.
That balance is the heart of the project.
Opal acrylic (e.g., OP2, OP3)
Opal acrylic is often a better choice for light box panels.
It usually has a milky white appearance and internal diffusion behavior. The exact performance depends on the grade, thickness, and supplier. But compared with clear or surface-frosted sheets, opal acrylic is closer to the real job of a light diffuser.
OP2 and OP3 are common names buyers may see. Different suppliers may use these terms in slightly different ways, so I always suggest checking actual samples and data.
| Acrylic type | Typical benefit | Important warning |
|---|---|---|
| OP2 opal acrylic | Better light transmission | May show hotspots if design is too thin |
| OP3 opal acrylic | Stronger diffusion | May reduce brightness |
| Custom opal diffuser | Can be tuned for project | Needs sample testing |
The main trade-off is simple:
More diffusion can hide dots better.
But more diffusion can reduce brightness.
This is not a problem. It is a design choice.
The buyer must decide what matters more:
- Maximum brightness?
- Smooth light?
- Sharp printed graphics?
- Low power use?
- Slim frame?
- Lower cost?
Acrylic choice depends on that priority.
Light diffuser acrylic sheets
Light diffuser acrylic sheets are designed for LED applications.
They are not just “white acrylic.” A proper diffuser sheet is made to spread light while keeping useful transmission.
This type of sheet is often better for thin light boxes because the material itself is made for light control.
| Feature | Why it matters |
|---|---|
| High haze | Helps hide LED dots |
| Controlled transmission | Keeps panel from looking too dim |
| Stable color | Keeps white light clean |
| Consistent sheet quality | Helps mass production match samples |
For B2B buyers, this is important.
A one-piece sample may look fine. But mass production must look the same.
If the material is unstable, the first 20 pieces may look good, and the next batch may look slightly different. That creates trouble for brand displays, chain stores, or repeated orders.
Acrylic for LED light boxes must be chosen with repeat production in mind.
Not only one sample.
Multi-layer diffusion solutions
Sometimes one acrylic sheet is not enough.
This is especially true when the light box is very thin, the LED spacing is limited, or the brightness requirement is high.
A multi-layer design may include:
- Front diffuser acrylic
- Light guide plate
- Reflective backing
- Diffusion film
- Proper LED strip
- Internal spacing design
This kind of system can improve uniformity without making the frame too thick.
| Layer | Job |
|---|---|
| Front diffuser | Smooths visible light |
| Light guide plate | Spreads edge light across surface |
| Reflective backing | Sends lost light forward |
| Diffusion film | Adds extra softening |
| LED strip | Provides stable light source |
Of course, more layers mean more cost and more assembly control.
So the question is not always, “Can we make it better?”
The better question is, “How good does it need to be for this product?”
A luxury cosmetic display may need very clean light. A low-cost temporary sign may not need the same standard.
For me, the smartest choice is rarely the most expensive one: I try to choose the simplest structure that can pass the real viewing test, because every extra layer adds cost, handling risk, and production control pressure.
That is a practical way to think.
Not cheap.
Not overbuilt.
Just fit for the real use.
How to Choose the Right Acrylic for Thin LED Boxes?
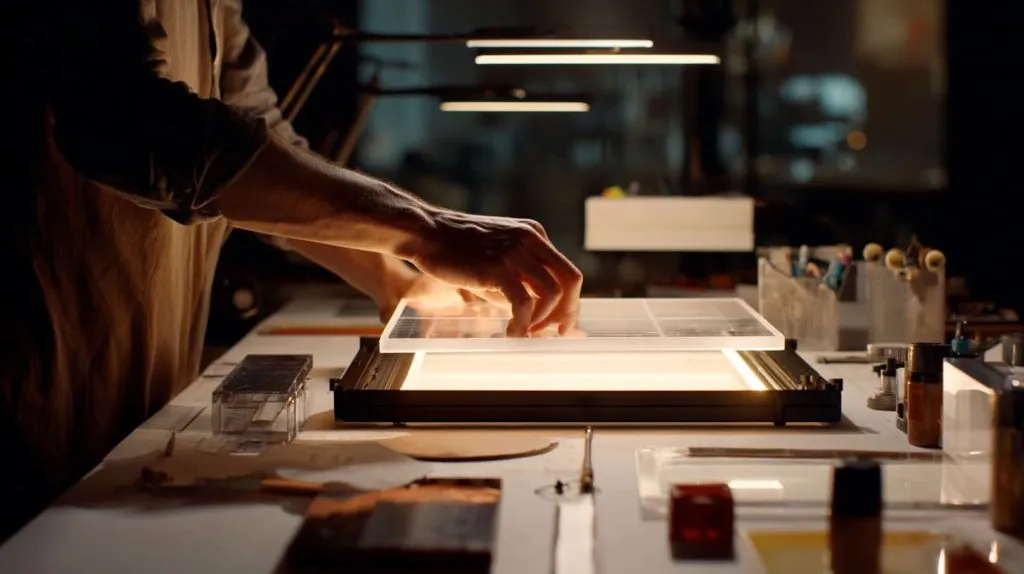
Choosing acrylic for thin LED light boxes is not a guessing game.
It should not be based only on sheet name. It should not be based only on a photo. And it should not be based only on the lowest quotation.
A good choice comes from matching the acrylic to the lighting design.
That sounds simple.
But many projects skip this step because everyone is in a hurry.
The drawing needs approval.
The buyer needs a quote.
The sales team needs a sample.
The factory needs to move fast.
I understand that pressure. But thin LED light boxes need a little patience before mass production.
Match acrylic to LED spacing
LED spacing is one of the first numbers I want to know.
If the LEDs are close together, the diffuser does not need to fight as hard. If the LEDs are far apart, the diffuser must be stronger.
| LED spacing condition | Suggested thinking |
|---|---|
| Tight LED spacing | Moderate diffuser may be enough |
| Medium LED spacing | Use proper opal or diffuser acrylic |
| Wide LED spacing | Increase diffusion or change LED layout |
| Very thin frame + wide LED spacing | High risk, test before quoting final |
The mistake is treating acrylic as a separate part.
It is not separate.
It works with LED pitch, frame depth, reflector, film, and viewing distance.
If the customer wants a very thin light box but also wants a low LED count, the acrylic must carry too much pressure.
That is when I usually suggest changing at least one condition.
Either increase LED density.
Or increase distance.
Or use stronger diffusion.
Or accept lower brightness.
Or increase cost.
There is no free lunch inside a light box.
Select correct thickness
Acrylic thickness affects both light and structure.
For many thin LED light boxes, 2 mm to 5 mm is common. But the right choice depends on size, frame design, and lighting effect.
| Thickness | Possible use | Watch-out point |
|---|---|---|
| 2 mm | Small, low-cost, slim panels | May warp or diffuse poorly |
| 3 mm | Common light box panel | Needs good material choice |
| 4 mm | Better strength and light control | Higher cost |
| 5 mm | Larger or premium panels | More weight and frame space |
A thin panel may look elegant, but it may also bend, show shadows, or fail to diffuse enough light.
A thicker panel may perform better, but it may change the whole structure.
The right thickness is not always the thickest one. It is the thickness that works with the product goal.
Check light transmission vs diffusion balance
This is the key trade-off.
Light transmission means how much light passes through the sheet. Diffusion means how well the sheet spreads the light.
If transmission is too high and diffusion is too low, the panel is bright but spotty.
If diffusion is too high and transmission is too low, the panel is smooth but dim.
| Condition | Result | Common buyer reaction |
|---|---|---|
| Too transparent | Hotspots | “Why can I see the LEDs?” |
| Too diffused | Dim panel | “Why is it not bright enough?” |
| Balanced | Smooth and bright enough | “This looks right.” |
| Poor material quality | Patchy or yellow | “Why does it look cheap?” |
I do not like choosing material from a name alone.
I prefer to compare samples with the same LED, same distance, same frame, and same viewing angle.
Only then does the comparison mean something.
Always test samples before mass production
For thin LED light boxes, sample testing is not optional.
It is protection.
A sample helps answer questions that a drawing cannot answer:
- Are hotspots visible?
- Is the brightness enough?
- Does the printed logo stay clear?
- Does the white panel look clean?
- Are the corners dark?
- Does the panel look good at real viewing distance?
- Does it still look good in a darker room?
A photo can help, but a physical sample is better.
I also like testing in different lighting conditions. A sample may look fine in a bright office. But in a retail store with softer light, the panel weakness may show more clearly.
The decision I trust most is made after turning the sample on, stepping back, moving closer, and checking it like a real customer would. I do not approve a thin light box only from the front view photo, because the camera can hide exactly the problems the buyer will later complain about.
That may sound a little strict.
But strict before production is cheaper than regret after production.
Design Factors That Matter More Than Acrylic Alone
Acrylic is important.
But acrylic is not the whole light box.
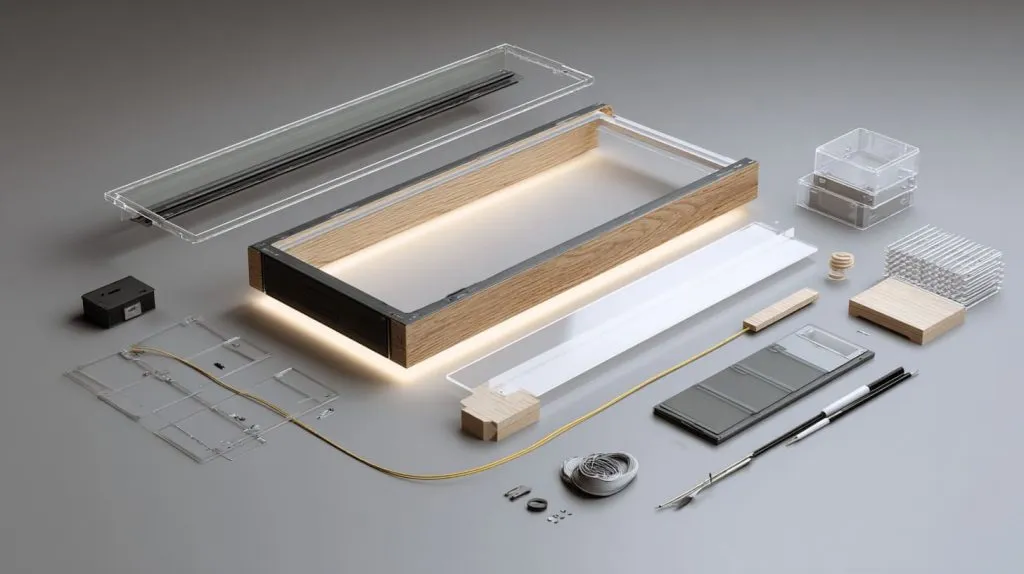
This is one of the biggest lessons I have learned from custom acrylic projects. A buyer may spend a lot of time choosing OP2, OP3, P95, P99, or another sheet type. But the final result also depends on the LED, frame, reflector, spacing, and assembly.
A good material can still fail in a bad structure.
A simple material can sometimes perform better when the structure is well designed.
So I like to think of a thin LED light box as a small team.
The acrylic is one player.
The LED is another player.
The frame is another.
The backing material is another.
The design must make them work together.
LED type and density
LED density has a huge effect on final appearance.
A high-density LED strip creates a more continuous light source. This can reduce visible hotspots. A low-density strip saves cost, but it makes the diffuser work harder.
| LED choice | Benefit | Risk |
|---|---|---|
| High-density LED strip | Smoother light | Higher cost and heat |
| Low-density LED strip | Lower cost | Hotspots more likely |
| Edge-lit LED | Slim structure | Needs good light guide |
| Back-lit LED | Direct brightness | Needs enough distance and diffusion |
The LED color quality also matters.
If different LED batches have color variation, the panel may show uneven white tone. This can make even good acrylic look bad.
Heat also matters. A thin box has less room for heat to escape. Poor heat control may reduce LED life and affect adhesive, printing, or acrylic stability.
Distance between LED and panel
Distance is boring on paper.
But in real light boxes, it is powerful.
Even a small increase in distance can improve light mixing. Sometimes adding a few millimeters can reduce hotspots more than changing to a different acrylic sheet.
But there is a trade-off.
More distance means a thicker frame. A thicker frame may not fit the design target. It may also affect packing, installation, and customer preference.
| Change | Positive effect | Trade-off |
|---|---|---|
| Increase LED-to-panel distance | Better light spread | Thicker box |
| Reduce distance | Slimmer design | More hotspots |
| Add diffusion layer | Smoother light | More cost |
| Increase LED density | Better uniformity | More power and heat |
This is why early structure discussion matters.
If the buyer only sends the outside size and target thickness, the factory may not have enough information to judge the lighting risk.
Reflective backing materials
Reflective backing is often ignored.
But it can make a big difference.
A good reflective backing sends lost light forward. It improves brightness and helps reduce dark zones. A poor backing absorbs light or creates uneven reflection.
| Backing type | Effect |
|---|---|
| High-reflective white backing | Improves light use |
| Mirror-like backing | Can help but may create glare patterns |
| Dark or dull backing | Wastes light |
| Uneven backing surface | Creates shadows or patches |
In a thin light box, every bit of light matters.
If the design loses too much light inside, the front panel may look dim even with good LEDs.
Then the buyer may blame the acrylic, when the real issue is internal reflection.
Frame and structure design
The frame controls spacing, support, light leakage, and shadow edges.
A weak frame can create dark borders. A poor internal structure can block light. A wrong groove position can make the acrylic sit too close to the LED. A small screw boss or rib can create a shadow.
These small details are easy to miss in a drawing.
But light will find them.
| Frame issue | Visible result |
|---|---|
| Deep edge lip | Dark border |
| Internal ribs | Shadow lines |
| Poor corner design | Dark corners |
| Loose panel fit | Uneven gap and light leak |
| No light sealing | Bright leakage around edge |
The small detail I worry about most is not always the acrylic grade; sometimes it is the hidden shadow created by the frame, because that shadow only appears after all parts are assembled and the light is turned on.
This is why I like to review light boxes as complete products.
Not just sheets.
Not just LEDs.
Not just frames.
The whole box.
That is where the real answer lives.
Common Mistakes Buyers Make
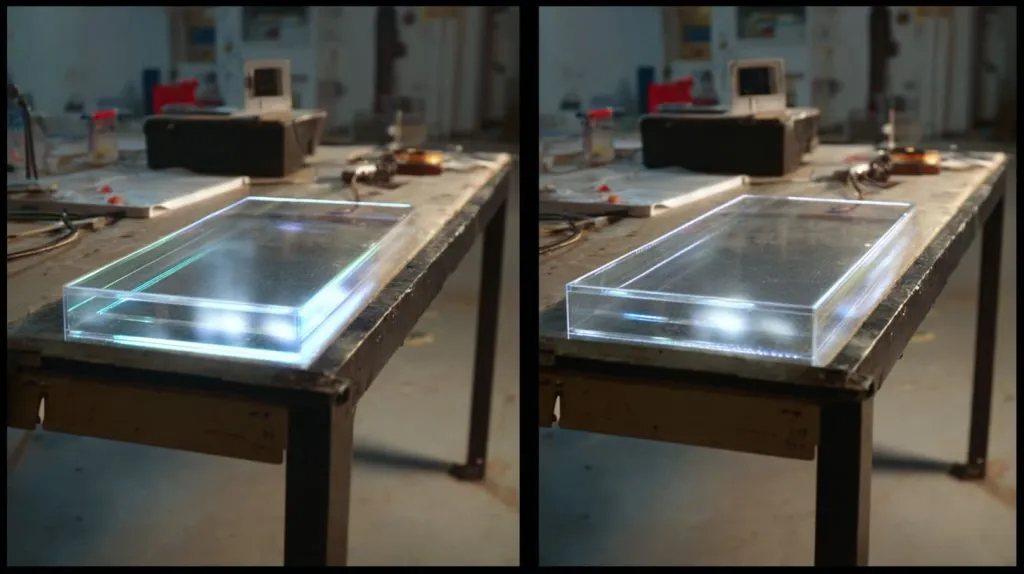
Most acrylic light box mistakes are not made because buyers are careless.
They are made because the product looks simple.
A thin LED light box looks like a panel and a frame. So people think the decision should be easy. Choose acrylic. Add LEDs. Close the frame. Ship the product.
But good light is not that simple.
I have worked with many experienced buyers. Some of them have visited factories many times. Some understand acrylic displays very well. But even experienced buyers can get caught by thin LED light box details because the failures are hidden until the sample lights up.
Choosing acrylic by name instead of function
This is very common.
A buyer may say:
“Use P99. It sounds better.”
“Use P95. It is frosted.”
“Use clear acrylic with white printing. It should be okay.”
“Use OP3 because it sounds more diffused.”
The problem is that acrylic names do not tell the full story.
The real question is what function the sheet must perform.
| Buyer choice method | Risk |
|---|---|
| Choose by name | Wrong material for the job |
| Choose by surface look | Mistake glare control for diffusion |
| Choose by price | Hidden visual failure |
| Choose by supplier habit | May not fit this design |
I prefer to ask:
- Is the problem glare?
- Is the problem hotspots?
- Is the problem brightness?
- Is the problem graphic sharpness?
- Is the problem color?
- Is the problem cost?
Each problem may need a different solution.
P99 may help glare.
OP acrylic may help diffusion.
A light guide may help edge-lit uniformity.
A better LED layout may help more than changing the sheet.
A material name is only a starting point.
It is not the answer.
Ignoring lighting structure
Another mistake is expecting acrylic to fix everything.
This happens often when the light box is already designed too thin, the LED spacing is already chosen, and the cost target is already locked. Then the buyer asks the acrylic to solve the problem.
That is unfair to the material.
Acrylic can help, but it cannot break physics.
If the LED is too close and too sparse, even a good diffuser may struggle. If the frame creates shadows, the acrylic cannot remove them. If the backing absorbs light, the acrylic cannot recover all the lost brightness.
| Structure problem | Why acrylic alone may fail |
|---|---|
| LEDs too close | Dots remain visible |
| LEDs too far apart | Strong bright/dark pattern |
| No reflector | Low brightness |
| Poor frame depth | Light cannot mix |
| Internal ribs | Shadows remain |
Acrylic is not a bandage for every design wound.
It is one part of the system.
Skipping prototyping
Skipping samples is tempting.
The buyer wants speed. The supplier wants the order. The cost looks small. The drawing seems clear.
But thin LED light boxes are exactly the type of product where skipping prototypes can hurt.
A sample is not only for checking size. It is for checking light behavior.
| Without prototype | Possible problem |
|---|---|
| No visual test | Hotspots found too late |
| No graphic test | Logo looks blurred after production |
| No brightness test | Panel looks dim in real use |
| No assembly test | Frame shadows appear later |
| No batch standard | Mass production varies from sample |
A sample can feel slow, but it saves time when the design is risky.
I would rather spend time on one honest sample than explain 500 finished light boxes with visible dots.
That conversation is never fun.
Over-prioritizing cost
Cost matters. I know this very well.
In B2B custom work, every project has cost pressure. The buyer has a budget. The product must compete. Shipping cost matters. Material cost matters. Labor cost matters.
But some savings are dangerous.
Saving on acrylic quality, LED density, reflector, or sample testing can create a product that looks cheap. And when a light box looks cheap, the brand behind it also looks cheap.
That is the part buyers sometimes underestimate.
| Cost-saving choice | Possible hidden cost |
|---|---|
| Cheap acrylic | Yellow tone or patchy light |
| Low LED count | Hotspots |
| No sample | Redesign after production |
| Weak reflector | Dim panel |
| Thin frame only for appearance | Poor uniformity |
The cost decision I respect most is not the lowest price; it is the price that still protects the final visual effect, because the end user does not know our material savings but can see our mistakes in three seconds.
That is why I always try to separate smart saving from risky saving.
Smart saving removes waste.
Risky saving removes performance.
They are not the same.
Practical Advice for B2B Buyers and Designers
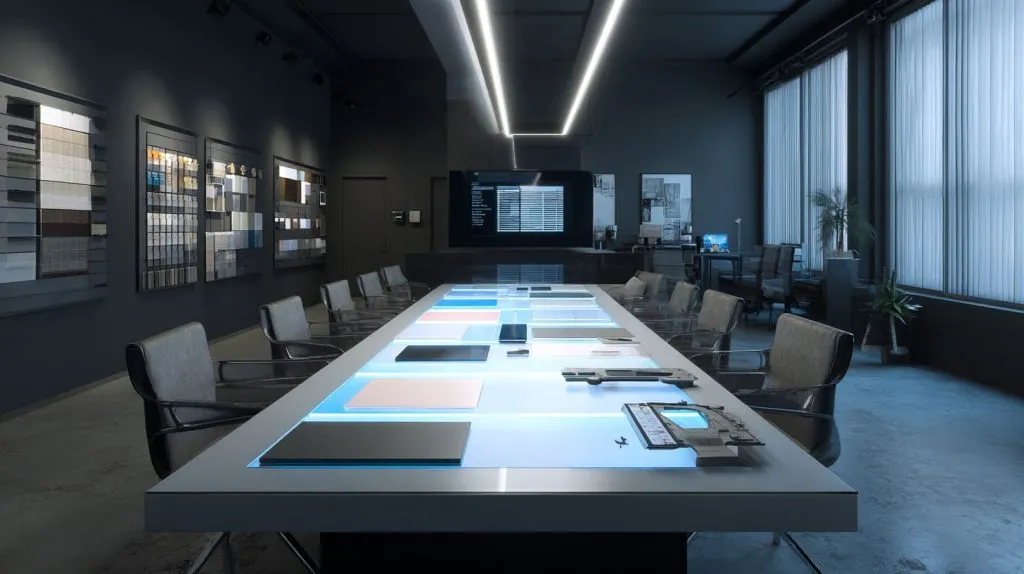
If you are a product designer, purchasing manager, brand owner, or custom display buyer, you do not need to become a lighting engineer.
But you do need to ask better questions.
Thin LED light boxes are not impossible. Many of them can look beautiful, clean, and professional. But they need the right mix of acrylic, lighting, and structure.
The good news is that most failures can be avoided before production.
The bad news is that they are expensive after production.
So I like to handle these projects with a simple mindset:
Make the risk visible early.
Ask suppliers for diffusion data
Do not only ask, “Do you have white acrylic?”
Ask for more useful details.
For example:
- Light transmission rate
- Haze level
- Acrylic thickness
- Material type
- Sample photos under LED
- Similar project experience
- Batch consistency
- Recommended LED spacing
| Question to ask | Why it helps |
|---|---|
| What is the light transmission? | Helps judge brightness |
| What is the haze level? | Helps judge diffusion |
| Is it surface matte or internal diffuser? | Avoids wrong assumption |
| Can you test with our LED spacing? | Makes result more realistic |
| Do you have similar samples? | Shows practical experience |
Not every supplier will provide full lab data. That is normal in many custom projects.
But an experienced supplier should at least understand the question and help test samples properly.
If the supplier only says “no problem” without asking about LED spacing, frame depth, or brightness requirement, I become careful.
Work with experienced acrylic manufacturers
Thin LED light boxes need production experience.
The supplier must understand cutting, polishing, bonding, printing, acrylic quality, light behavior, and assembly tolerance.
Acrylic is not only a flat sheet. In custom work, it may need CNC cutting, laser cutting, bending, printing, bonding, and packaging. Each step can affect the final product.
| Production factor | Why it matters |
|---|---|
| Cutting quality | Prevents rough edges and poor fit |
| Thickness control | Helps stable assembly |
| Material consistency | Keeps light uniform |
| Printing alignment | Protects final visual effect |
| Packaging | Prevents scratches on visible surfaces |
A thin light box usually has a large visible surface. Scratches, dust, glue marks, and uneven edges are easy to notice.
That is why quality control matters.
At Feilong Acrylic, we work with custom acrylic displays, boxes, frames, stands, racks, organizers, and related products. LED-related acrylic parts need extra care because light makes small defects easier to see.
A normal clear display part may hide some small issue. A backlit part may show it immediately.
Consider OEM customization
For B2B buyers, standard material may not always fit the project.
Sometimes the best answer is a custom solution.
This may include:
- Custom acrylic thickness
- Custom diffuser grade
- Custom printed layer
- Custom light guide design
- Custom frame structure
- Custom sample testing
- Custom packaging for finished panels
| Project need | Possible custom solution |
|---|---|
| Slim frame | Better diffuser + closer LED pitch |
| High brightness | Higher transmission diffuser |
| No visible dots | Stronger diffusion or multi-layer design |
| Sharp logo | Test material with final artwork |
| Large panel | Stronger thickness and better support |
OEM customization is useful because light box projects are not all the same.
A small cosmetic counter sign does not need the same structure as a large wall-mounted menu board. A luxury retail display does not have the same tolerance as a temporary promotion sign.
Custom design should match the real use.
Not the other way around.
Balance cost vs performance early
The best time to control cost is early.
If the buyer waits until the sample fails, cost control becomes harder. Now the project may need redesign, new samples, new material, new lead time, and new approval.
That is painful.
It is better to discuss the trade-offs before making the first sample.
| Decision point | Cheap approach | Safer approach |
|---|---|---|
| Acrylic choice | Use basic frosted sheet | Use diffuser acrylic after testing |
| LED layout | Reduce LED count | Balance LED density and diffusion |
| Frame depth | Make it as thin as possible | Keep enough space for light mixing |
| Sample test | Skip to save time | Test before mass production |
| Quality control | Check size only | Check size and light effect |
The small habit that helps me most is this: before I quote or approve a thin LED light box, I try to decide which problem I am willing to accept, because every design has a trade-off and pretending there is no trade-off usually creates a worse one later.
Maybe the buyer can accept slightly lower brightness for smoother light.
Maybe the buyer can accept a little more thickness for fewer hotspots.
Maybe the buyer can accept higher LED cost to keep the acrylic thinner.
These are real decisions.
And real decisions make better products.
Conclusion
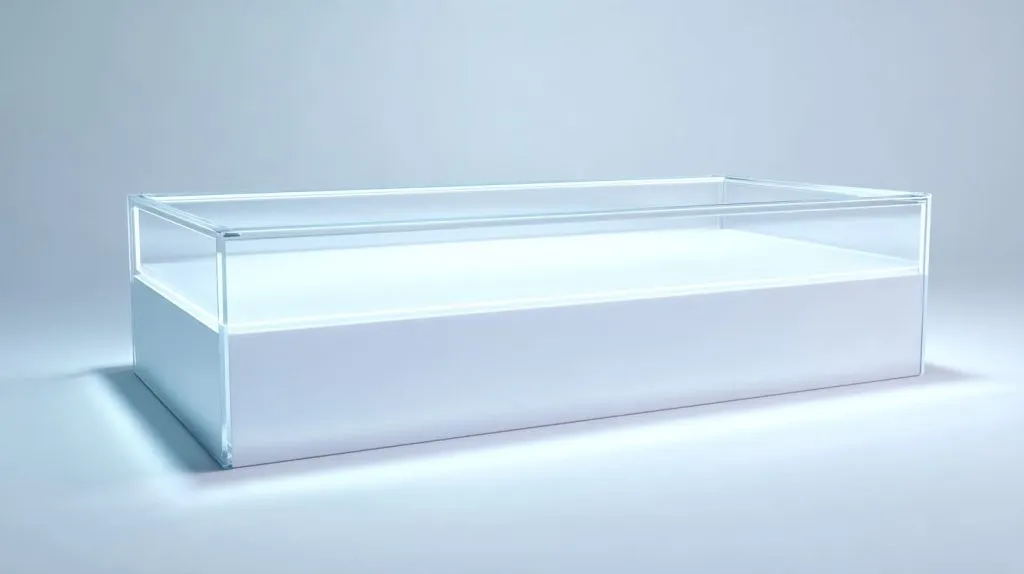
Thin LED light boxes expose acrylic weaknesses very quickly.
That is why clear acrylic, P95 acrylic, P99 acrylic, and low-quality recycled acrylic often fail first when they are used for the wrong purpose.
Clear acrylic fails because it does not diffuse enough.
P95 fails when buyers expect a surface frost to hide deep LED problems.
P99 fails when people confuse anti-glare with light diffusion.
Low-quality recycled acrylic fails because backlighting reveals unstable color and uneven material.
This is not about saying one acrylic is always bad.
That would be too easy.
I do not think that way in real custom work.
Every acrylic type has its place. Clear acrylic can be excellent for covers, display boxes, shelves, and premium transparent parts. P95 can work well when the main issue is surface glare. P99 can be useful when reflection control matters. Lower-cost material can fit products where the visual demand is not high.
But a thin LED light box is a special case.
It gives the material very little space to hide mistakes.
That is why I judge these projects by the whole lighting system. I look at LED spacing, panel distance, acrylic thickness, diffuser behavior, reflector, frame design, printed graphics, and real viewing conditions.
The reason I think this way is simple: I have seen too many samples fail not because the factory could not make the part, but because the design expected one acrylic sheet to solve light, cost, thickness, and appearance at the same time.
That expectation is too heavy.
A good thin LED light box does not come from one magic sheet.
It comes from a smart match:
- The right acrylic type
- The right LED layout
- The right frame depth
- The right reflector
- The right sample test
- The right quality standard
If you are designing or sourcing thin LED light boxes, my advice is direct.
Do not choose acrylic only by name.
Do not trust a matte surface too quickly.
Do not approve mass production from a clean photo alone.
Do not let a slim frame force the wrong material choice.
Ask for samples. Ask for light tests. Ask about haze, transmission, LED spacing, and frame depth. If the project is for a brand display, a retail sign, a cosmetic counter, or any product where the front surface matters, test it like the final customer will see it.
At Feilong Acrylic, we focus on custom acrylic work for B2B buyers. We do not treat acrylic as a catalog item only. We look at how the part will be used, how it will be lit, how it will be viewed, and how it will be produced in bulk.
That is how I prefer to work.
Because in the end, a thin LED light box has one job.
It must glow cleanly.
Not almost cleanly.
Not clean only in photos.
Not clean only from far away.
Clean enough that the buyer does not need to explain it.
If you are working on a custom acrylic LED light box, you can send your drawing, thickness target, LED layout, and viewing requirement to our team. We can help you review the material choice before the sample becomes an expensive lesson.